

Messages: Email Builder
In this support article, we’ll cover everything you need to know about the email builder in Messages. Our email builder uses a similar interface to our Visual Builder. It is made up of Sections and Content Blocks, allowing you to create beautifully designed emails with no code required. If you prefer, you can also choose to work in HTML for more advanced customisation.
If you're new to Messages, we recommend starting with the ‘Messages – Getting started’ article before diving into the builder.
Email Templates
At the top of the builder, you’ll see the template currently applied to your email. You can hover over the Template section to edit it.
Templates control the overall layout and style shared across multiple emails—such as headers, footers, and background styles. Any changes you make to a template will update all emails using that template, so be sure to review your edits carefully before saving.

Email Builder Sections
To start building, add your first Section by clicking the green ‘+’ button. Sections act as containers for your content blocks and give your email structure.
When creating a section, you’ll choose a layout—that’s where you’ll add your content blocks. Once you have your section in, you can edit it, duplicate it, move it up or down, or delete it by hovering over the area and selecting the relevant control.
In the right-hand sidebar, you can adjust section settings:
- Setting a background colour or uploading an image.
- Adjusting the section width.
- Adding or removing padding and margins.

Email Builder Blocks
Once you’ve added a section, you can start adding Content Blocks. These blocks are the building elements of your email and let you add text, images, buttons, videos, and more. Each content block has its own settings and customisation options, which are available in the right-hand sidebar. Here’s a breakdown of what each content block does:
- Text Block: The text block allows you to add and format text within your email. You can change font size, colour, alignment, and more. This block also supports personalisation tags, so you can dynamically insert supporter information like their name or donation amount.
- Image: Use this block to add images to your email. You can upload a new image or select one from your existing image library. You’ll also have options to adjust the image size, add alt text, and link the image to another page or URL.
- Button: The button block lets you add a clickable button to your email. You can customise the button text, colour, link, and alignment. This is a great way to direct users to a specific action, like donating, signing up, or sharing their page.
- Video: With the video block, you can add a video directly to your email. You can paste in a YouTube or Vimeo link, and the email will show a thumbnail of the video. When clicked, it will take the user to the video on the hosting site.
- Spacer: The spacer block adds extra space between content blocks. You can adjust the height of the spacer to control the amount of space between sections or content blocks in your email.
- Line: This block adds a horizontal line to your email, helping to break up sections or create visual interest. You can adjust the line's colour, thickness, and style (solid, dashed, etc.).
- Menu: The menu block lets you add a navigation menu to your email, which can be useful for directing users to different sections of a website or event. You can add multiple links to the menu and style them to fit your email’s design.
- Code: The code block allows you to add custom HTML or CSS into your email. This is useful if you need advanced styling or want to embed something unique that isn’t covered by the standard content blocks.
- Social: The social block lets you add icons that link directly to your charity’s social media channels. Choose from platforms like Facebook, Twitter, Instagram, and LinkedIn to make it easy for supporters to connect with you online.

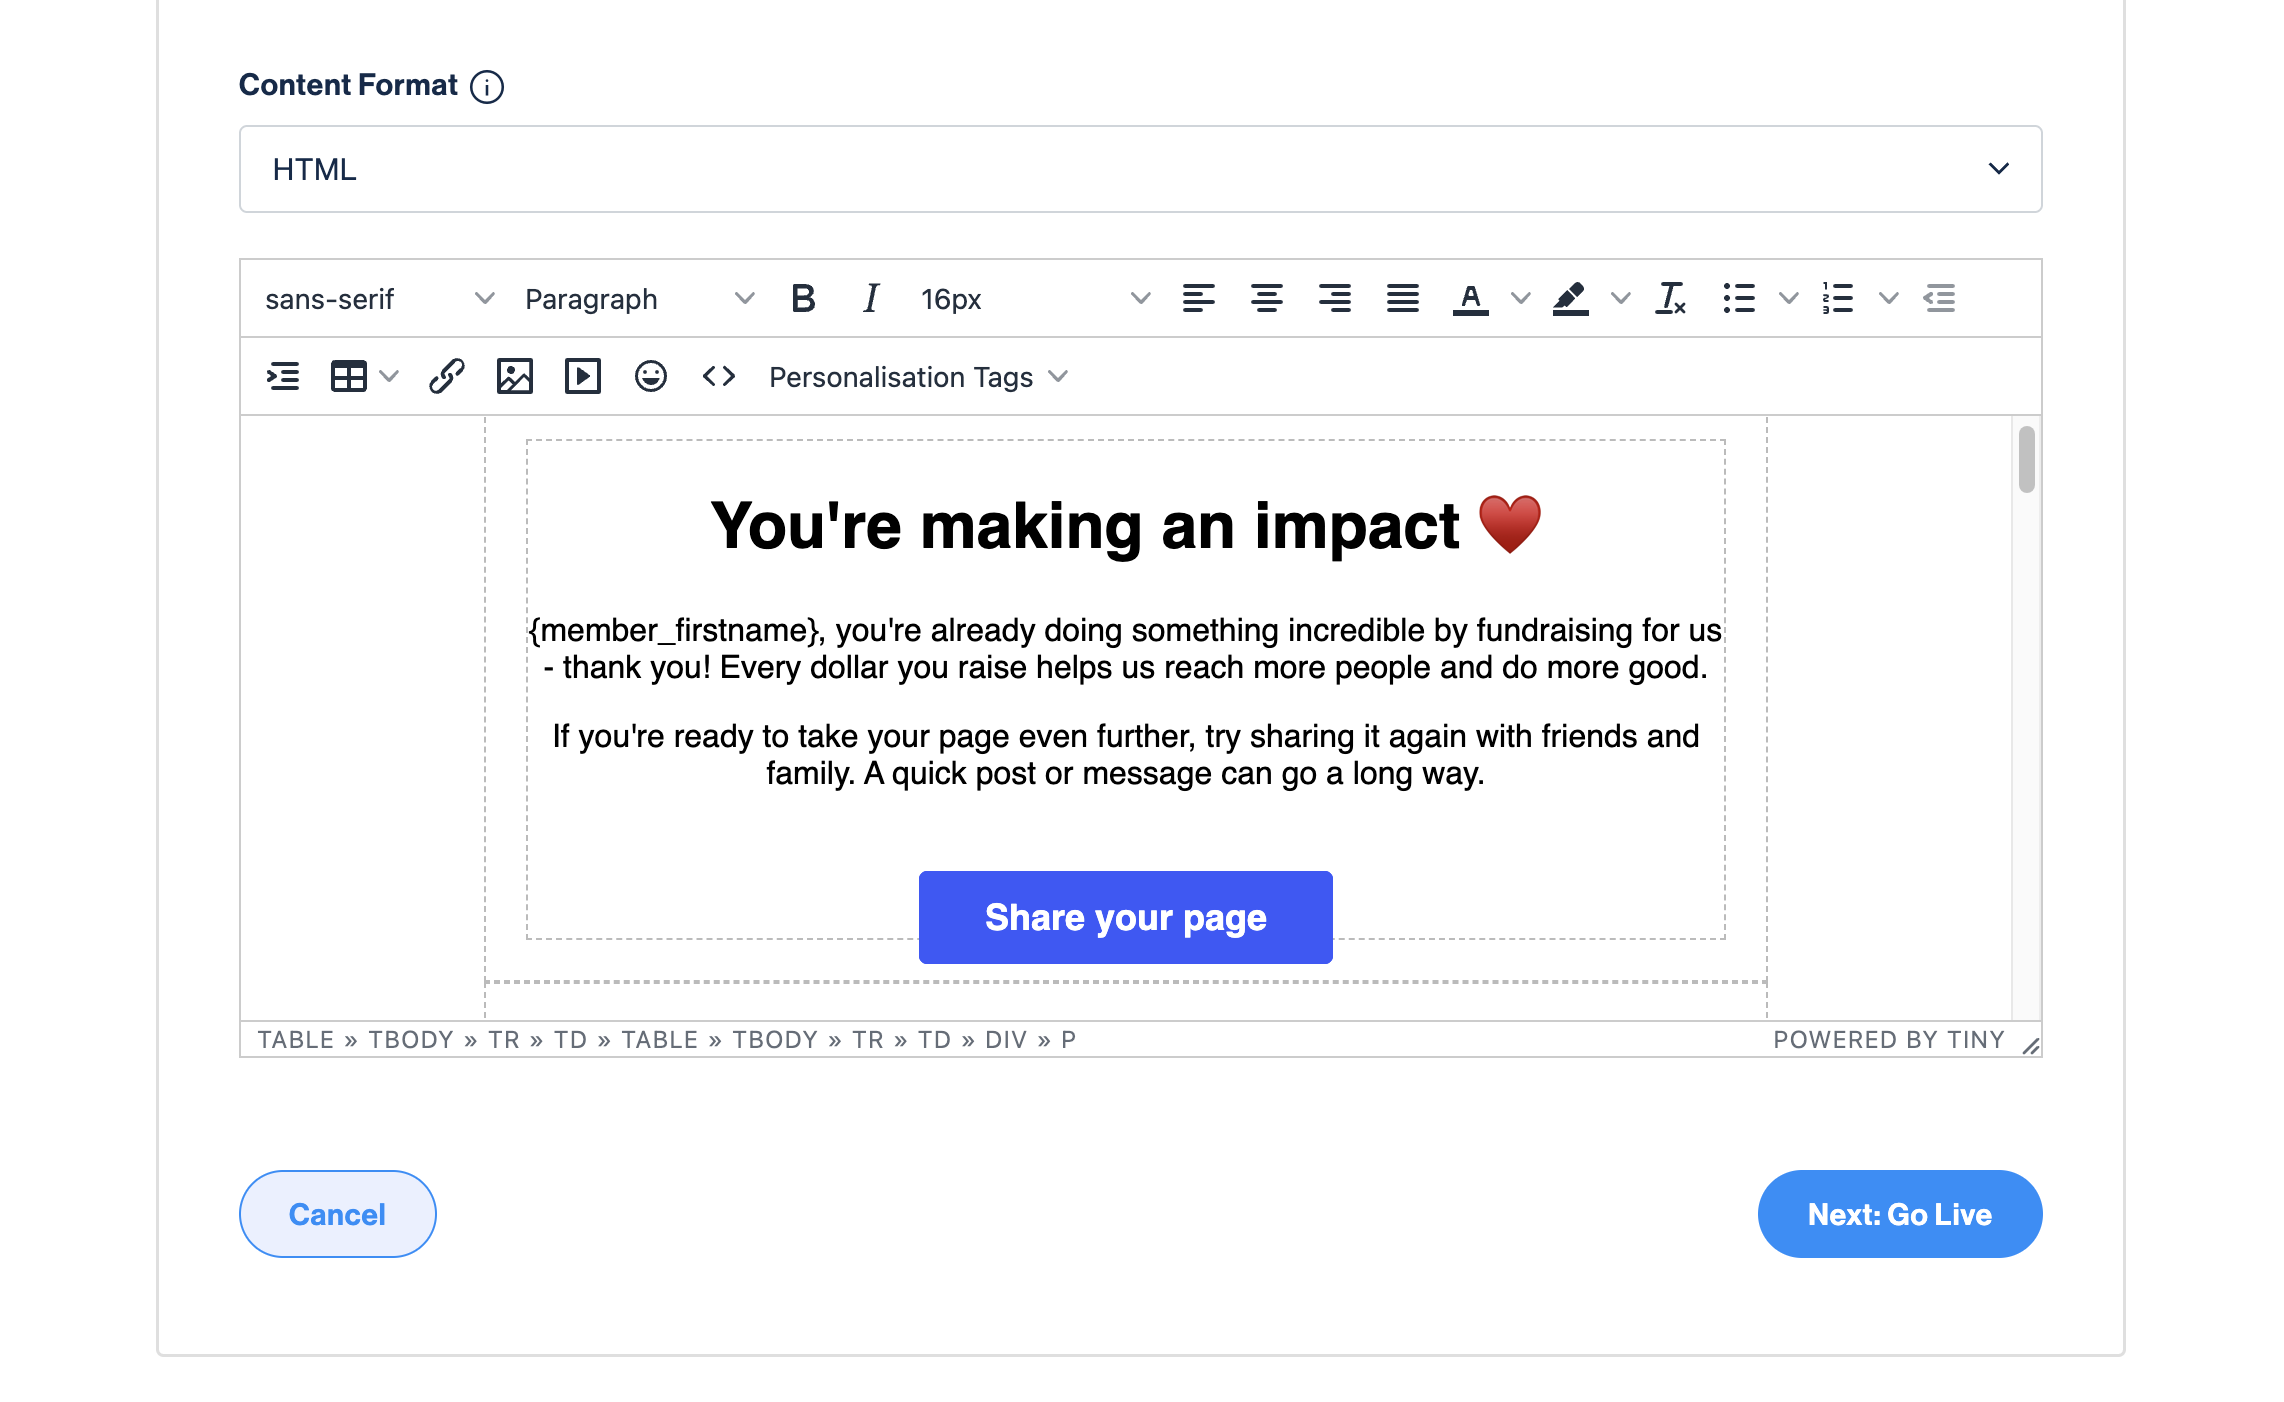
HTML Content Format
As an alternative to the Email Builder, you can create your email by editing the HTML code directly. In the content step, you’ll see a ‘Content Format’ option. From the dropdown, select ‘HTML’ and the WYSIWYG editor will appear. You can then click the source button in the controls to view and edit the code. This gives you more control for advanced designs or custom elements. Please note that emails created in HTML won’t be editable in the Email Builder, and emails made with the Email Builder can’t be edited in HTML. Using HTML is a good option if you’re comfortable with coding and want to create more complex designs.
We also have further Messages articles on:
Still need help? Check out other Messages articles or reach out to the Funraisin Support team by logging a ticket through the Support Module in your platform
Last updated: 24 Sep 2025
