

Expression of interest forms
Create an expression of interest form to help push interest in future campaigns and events, and to collect entry numbers to help the marketing of your event.
What is it?
An expression of interest form is a web form that is set in place of your registration buttons or incorporated into the content, so users can fill out the form and express their interest in next year's event.
Who is it most useful for?
An EOI form is especially useful for creating new events and generating new interest and traction in your new event before it starts.
What can I do with it?
An EOI can encourage new active participants that can be added to the mailing list for when your event goes live, you can also use this new tracking to identify if you're having a successful marketing strategy coming into your new event.
What are the benefits of it?
When no event is running on your platform, an EOI form helps keep your site relevant on search engines by maintaining a click-through rate by allowing users to still interact with the platform.
Key terms:
EOI Lightbox: A version of your form that pops up in a new window above your existing homepage.
EOI Content Page: A page in which you incorporate your form within a content page, giving you the opportunity to explain and talk about the new event.
EOI Web Form: The web form where all information sits that you wish to collect from interested users.
Creating your EOI form
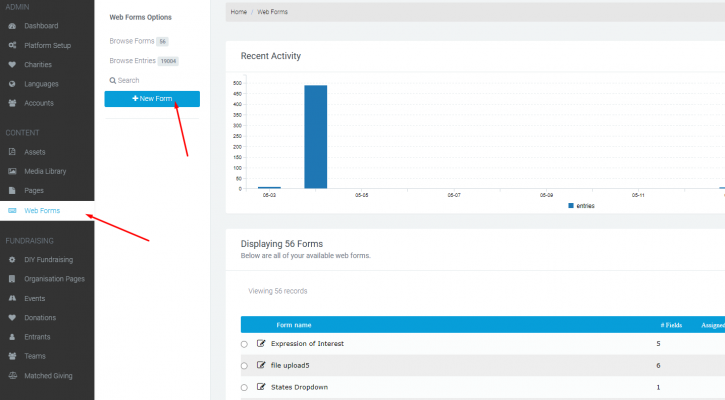
When starting to construct your EOI you will first need to build a webform that captures any data you wish to be displayed. You create this by going to your Web Forms Module > + New Form, once your new form pops up Name the form Expression of Interest and press save.
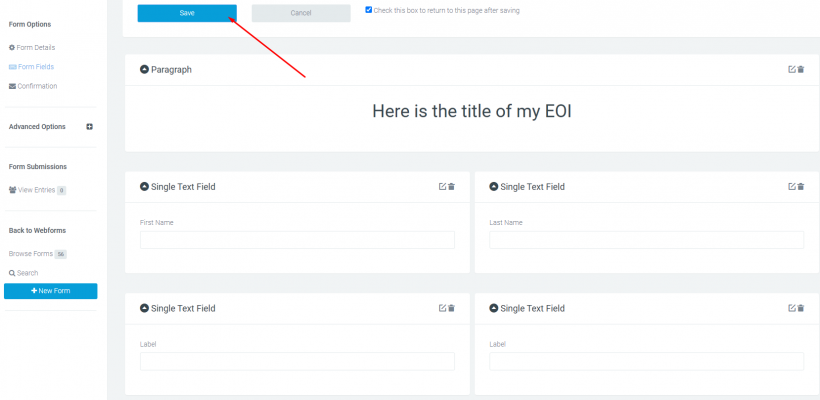
The next step is to add your required fields, create a Paragraph box that will help introduce people to your form, and as many single text fields as you need for your questions. Once you have all the data required save the form and you’re all good to go.
Creating your EOI Page
The next step is to apply this webform to a new page to generate the webform light box. In order to do this you will need to go to your Pages Module and create a standard blocks content page, once created, scroll down to the bottom of the page and add your webform block. When this block gets applied to the page you can add your webform by going add webform and selecting the form you just created.

How to add your web form to the content of the page

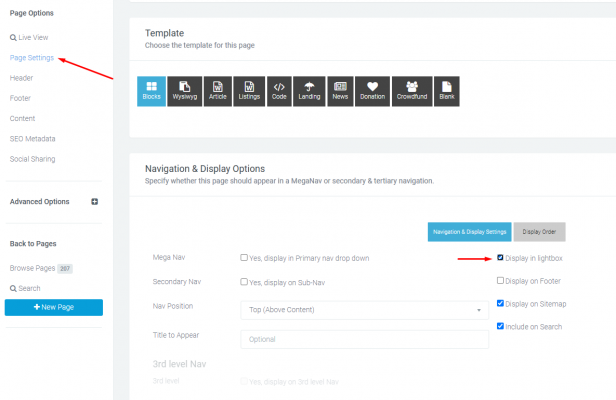
Once your web form is added to the content page you will need to set the page to open in a lightbox, you can do this by going into page setting, scrolling down to navigation settings, and turning on display in lightbox. Once this is selected you can publish the page and your lightbox EOI is ready to go.
Hiding main navigation & re-linking buttons
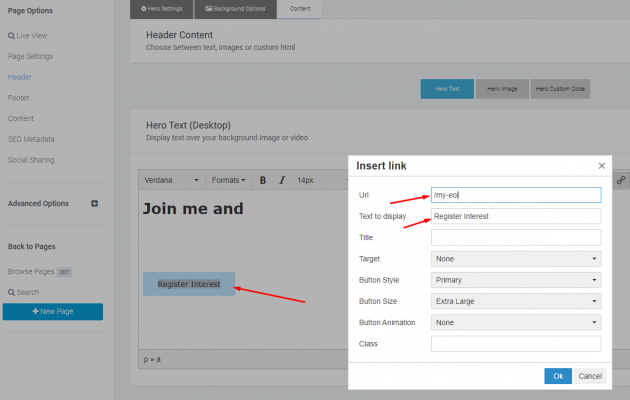
The final step of this process is to rename all registration buttons across your homepage to direct to your EOI lightbox page, something similar to Register you Interest will work. Once renaming is complete edit the link of the button and direct this to your EOI’s personal URL this will complete renaming and relinking your buttons.
Once this has all been completed you’re fully set up with your EOI process and good to archive your event (please visit the cloning and archiving events article to make sure you're complete with this process) then turn off your main navigation if necessary. Please note turning off main navigation is for single event sites, as navigation menus will consist of more than your single event for multi-event sites in which case you would remove your certain event information of the archived event from your navigation options.
We hope you found this article useful on how to build your very own EOI, if you find anything that may have been missed or if you would like further clarification on this topic please let us know.
If you’d like further help please pop in a support ticket from your Funraisin admin and our team will assist you.
