

Adding a DIY Fundraising Theme
Encourage your supporters to donate their birthday, do a hike, get active, donate their wedding and anything else you feel is relevant to your cause.
What is it?
A DIY theme is your 'always-on' fundraising option. Supporters can create their own fundraising page within a set theme, where they can collect donations and have friends and family join them in their challenge or activity.
What are the benefits of using it?
DIY themes allow your supporters to raise money for your cause, whilst also providing flexibility. They can choose their challenge or activity, and also a time that suits them.

You can create as many DIY fundraising themes as needed. These options make the decision making a little easier for your supporters by prompting them to fundraise however best suits them.
When creating a new DIY fundraising theme you can control the look and feel of the registration flow, customise the default copy and imagery which fundraisers can share to their social networks, enable goals and teams, and much more. Let's take an example of a birthday fundraiser – so fundraisers can choose to collect donations for you instead of birthday gifts.
Editing DIY Themes
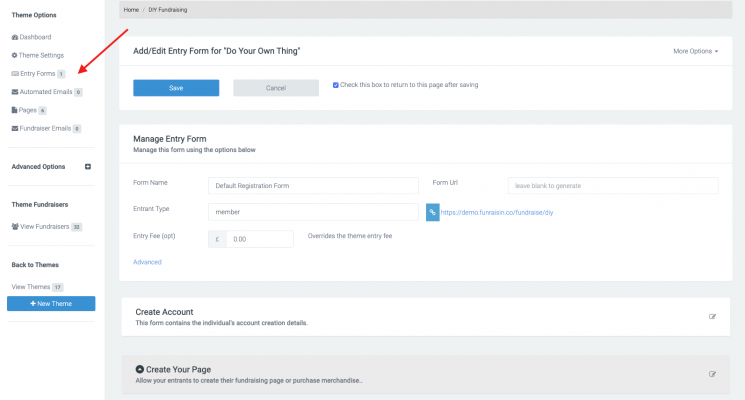
Head to DIY Fundraising to view all the themes you currently have setup.

Hit the blue New Theme button to create a new theme or click the edit icon next to each theme to edit.
You’ll now see tabs when editing the theme settings.

Theme Settings
In the Theme Settings tab you need to specify the theme name and also set the theme URL.
Scroll down to Payment Prefixes, where you can set up payment prefixes specific to this DIY theme that will override anything set at platform level.
At the bottom of the page is Confirmation Page & Approval. By default, a fundraiser will land on their fundraising page once they have completed registration, however, you can override this so they land on a specific page. Alternatively, you can choose from the dropdowns another area of their profile to land.
Fundraising Page
Click into the Fundraising Page tab to customise how the fundraising page will look. You can edit the copy that will appear above the donation form on the page, set a suggested fundraising target and blog and provide default headers and profile pictures.
Step 1: Account Creation
The first step of registration is where you collect the personal details of the entrant. Choose the details you want them to provide and whether or not they are mandatory. Each of the registration steps can be renamed to suit your theme.

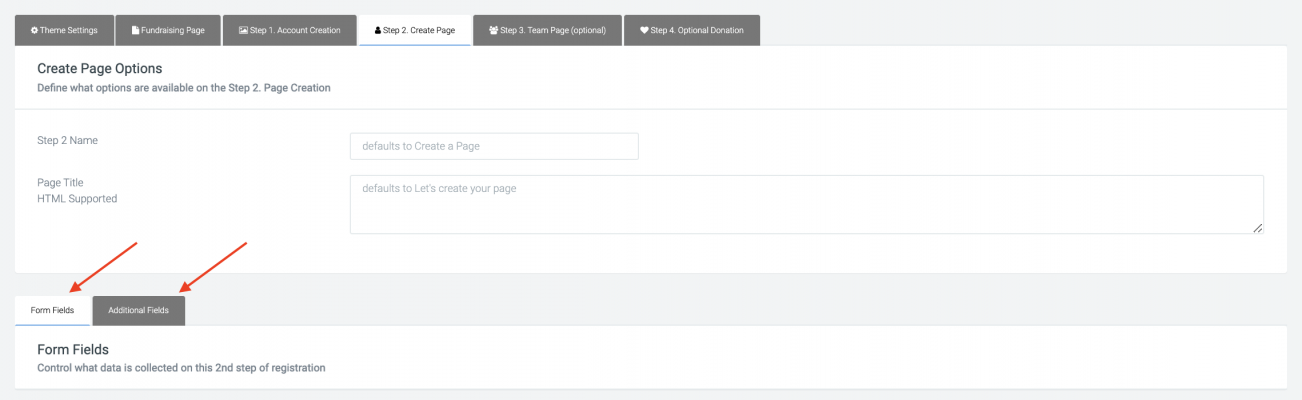
Step 2: Create Page
This step is where your supporters will customise their page, either adopting the defaults you have set or updating to personalise.
You can choose to display fields related to the event (In Memory Of, Location, Date/Time...) or entrant's page (Blog Post, Profile Pic..) on the Form Fields tab, and choose to include a web form to collect additional information on the Additional Fields tab.
By enabling fitness options on the Form Fields tab, fundraisers will be able to set a fitness target during registration, connect to fitness apps, and manually enter fitness activities.
Private vs Public: If this is enabled, and your fundraiser makes their event Public, then they're essentially creating their own event that others can join. A Join Me button will display on the DIY event page and if followed will direct entrants to the Event Entry Form, (detailed further down). The fundraisers page will act as the homepage, and their fundraising total will reflect their donations, but also the donations of any others who have joined their event.
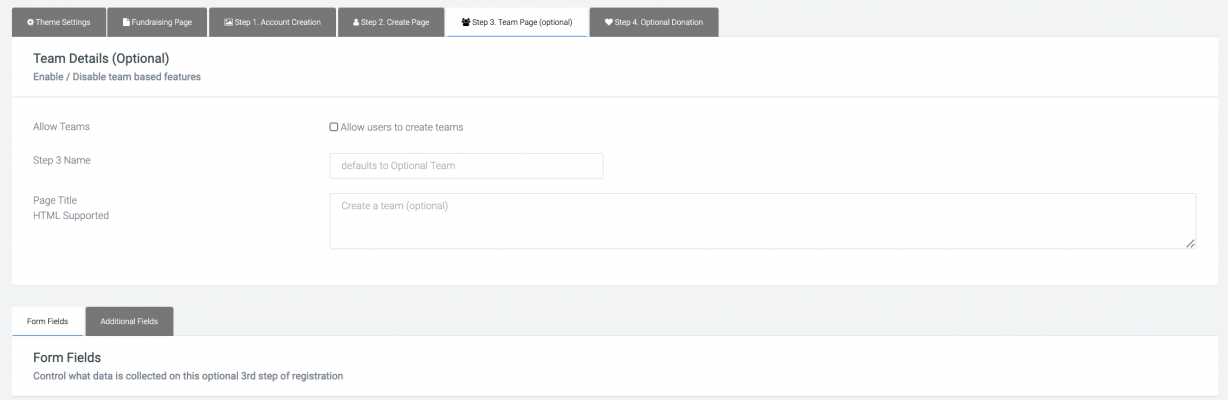
Step 3: Team Page (optional)
You can enable the ability for fundraisers to create a team as part of their registration flow or from within their login area after registering. If enabled, supporters can click Join Us on the team page and sign up to the team, whilst also creating their own page.
Step 4: Optional Donation
You can disable the optional donation step or make it mandatory. The dollar handles can be set within Advanced Options (Left-hand white nav) > Custom Dollar Handles.

Additional Settings
Automated Emails: These can be set within the left-hand white navigation. Any emails set here will override what is set at platform level. More information can be found in this support article.
Pages: Just like an Online event, you can create Public content pages. Within System Pages you can update the header for Register which will carry through the registration steps.
Fundraiser Emails: You can create fundraiser emails to be displayed within the Get Support area within the logged in dashboard. More information on how to set these up can be found in this support article.
Triggers: More information on how to set up triggers for your DIY theme can be found in this support article.
Gamification: More information on how to set up Gamification for your DIY theme can be found in this support article.
Custom Navigation: You can create a custom navigation that will be visible from your DIY fundraising pages. More information on how to set up a custom nav can be found in this support article.
Custom Dollarhandles: If you'd like an optional donation to appear on the last step of registration, then this will pull from what has been set at platform level, unless custom dollar handles are set here within the event.
Event Entry Forms
For Public Events where people are joining the event to fundraise
If an event is set to Public by the fundraiser, then others can join their event. These entrants will be directed down a different entry form which is set up within the left-hand white navigation. The entry form here works in the same way as they do for online events - you select the fields you want to capture in each step.
If you’d like further help please pop in a support ticket from your Funraisin admin and our team will assist you.
