

Reporting: Scheduling to send
Scheduling exports to be delivered directly to you saves time and keeps your team’s data easily accessible. Using our scheduling function, you can choose to receive your data exports in your inbox or have them sent straight to your CRM. Keep reading to find out how.
Scheduling to send
The first step to scheduling your export is making sure it is set to Active. Click the pencil icon on your export then under Export Details toggle the status to Active.
Next up, set your delivery frequency. This can be set to daily, weekly or monthly.
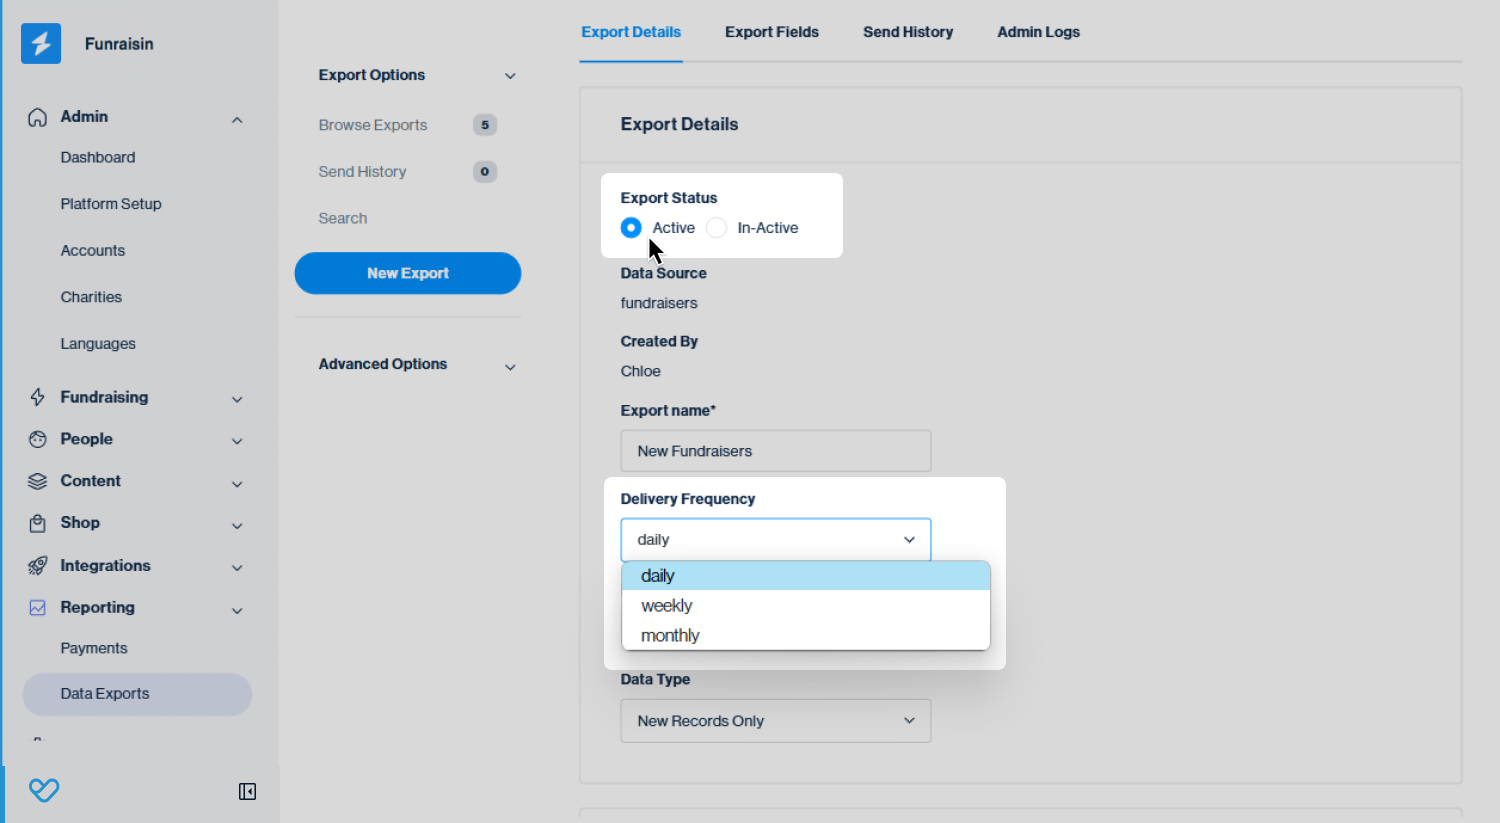
Tip! If Weekly is selected you will have the option to select the Day of the week. If Monthly is selected you will have the option to select the day e.g. 1-31.
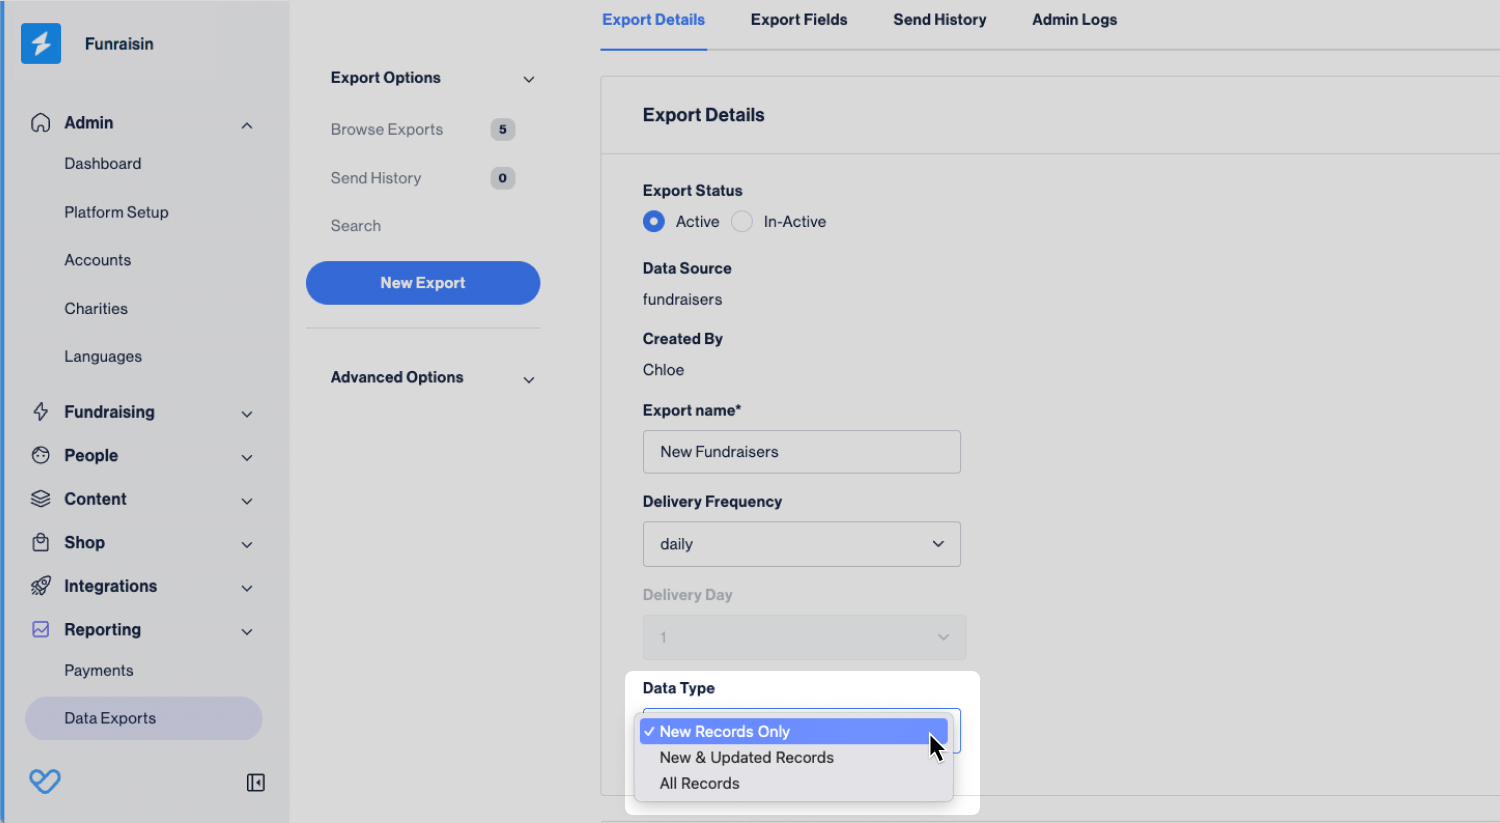
Then choose your data type from the three options available. Here's a quick definition for each to help you select the type right for your needs.
- 1
- New Records Only: This will only email you new records created since the last send. For example, if the export is being sent daily, then the records sent will be the new records in the last 24 hours since the previous send.
- 2
- New & Updated Records: This will send you the new records as above, but also any records which have been updated in that send period.
- 3
- All Records: This will send you all records
Finally, scroll down to the bottom of the Export Details page to define how the export is sent to you. Keep reading to learn about the different methods that are available.
Email settings
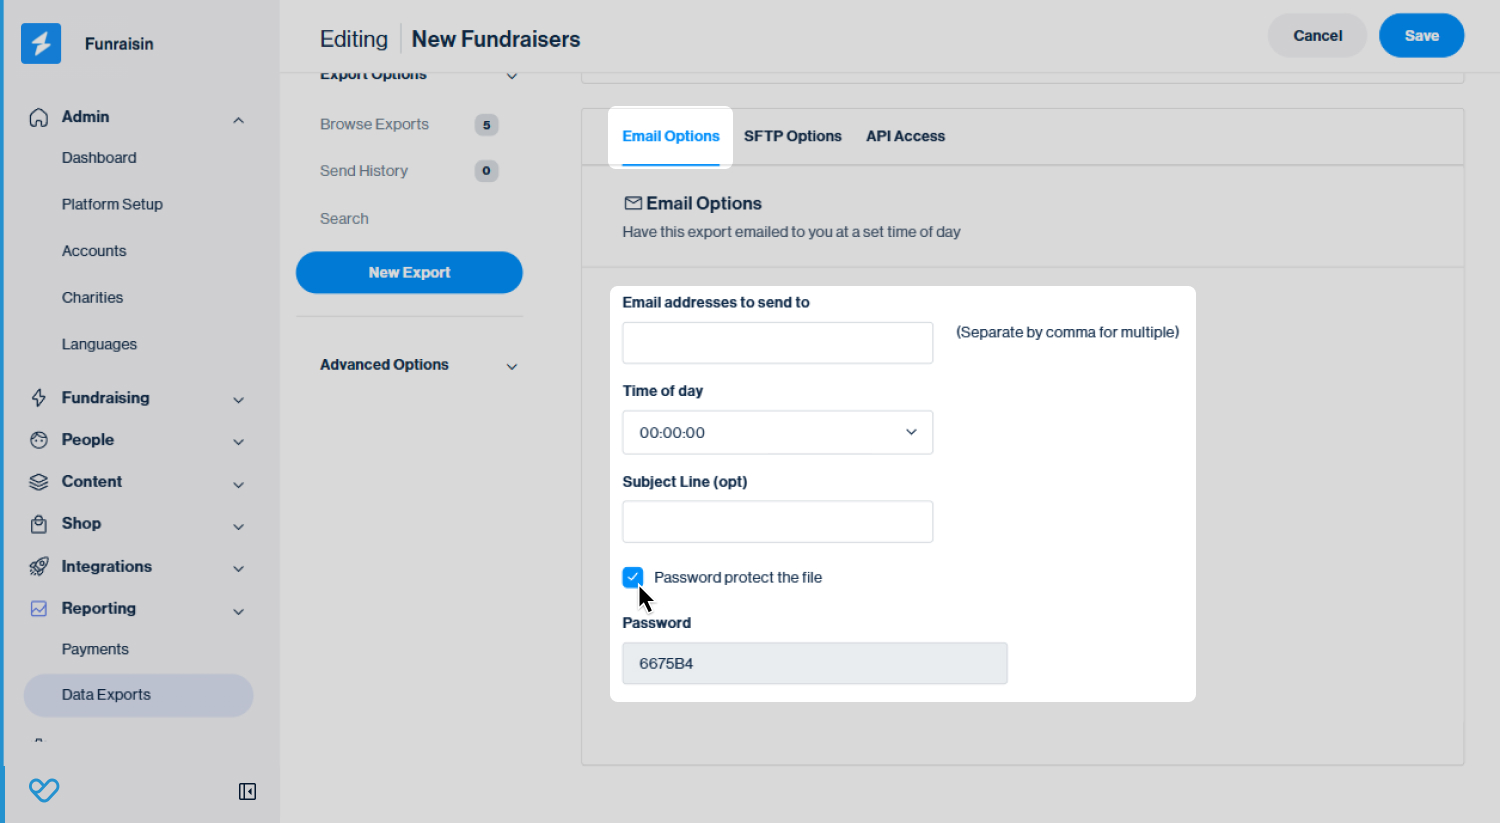
Add in the email addresses to which you want the export to be sent (separated by commas), e.g. accounts@charity.com, supportercare@charity.com
Next select the time of day you want to receive the export.
Tip! If your site has a lot of traffic or you’re sending a lot of data, then we’d advise the early hours when there is the least traffic on your site.
Add in a subject line. If not, this will default to the export name.
Tip! We also recommend that you check the box to password protect the file as this will help to keep your supporters' data secure.
SFTP settings
SFTP stands for ‘Secure File Transfer Protocol’, a secure method for transferring files between computers that is encrypted whilst sending.
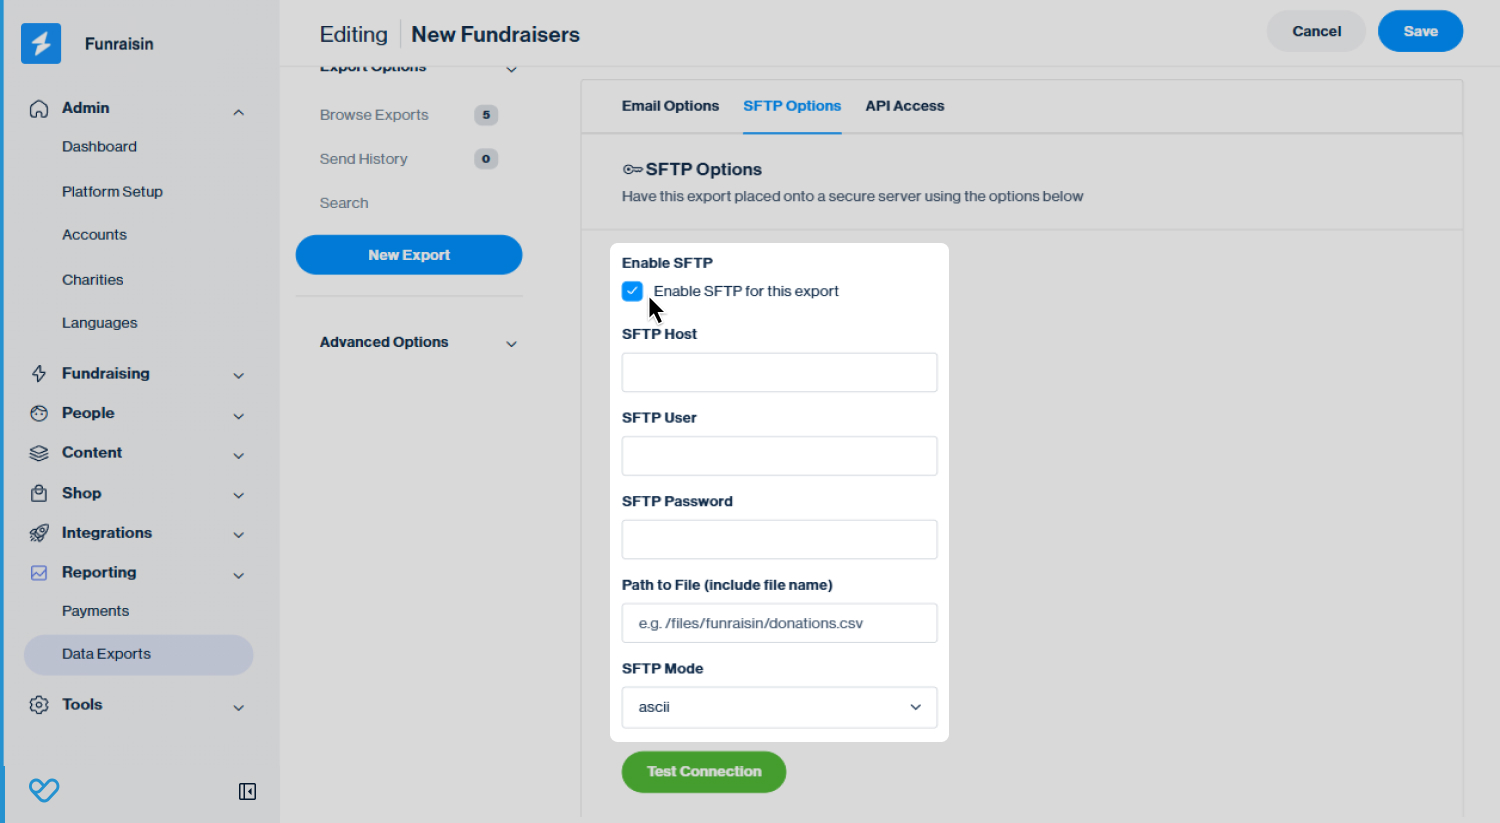
Tick to ‘enable SFTP for this export’. Now you are ready to populate the required details. To help, we've included a description of each here.
SFTP Host: This is the IP address or domain name of the server to where your file will be sent to. You need to enter the specific host addresses given to you by your server or IT department.
SFTP User: This is the username required to access the SFTP server and is required for authentication. It’s part of the credentials required to authenticate your access to the server.
SFTP Password: This is the password required to access the SFTP server and is required for authentication.
Path to file (include file name): This is the specific location on the server where you want to store the file, along with the name of the file. For example, /files/funraisin/donations.csv means the donations.csv will be stored in the Funraisin directory inside the files directory on the server.
SFTP Mode: This refers to the mode of file transfer - either binary or ASCII. Binary is used for non-test files like images, whereas ASCII is used for text files. Our default is ASCII, as our exports are text based.
Tip! All fields are mandatory.
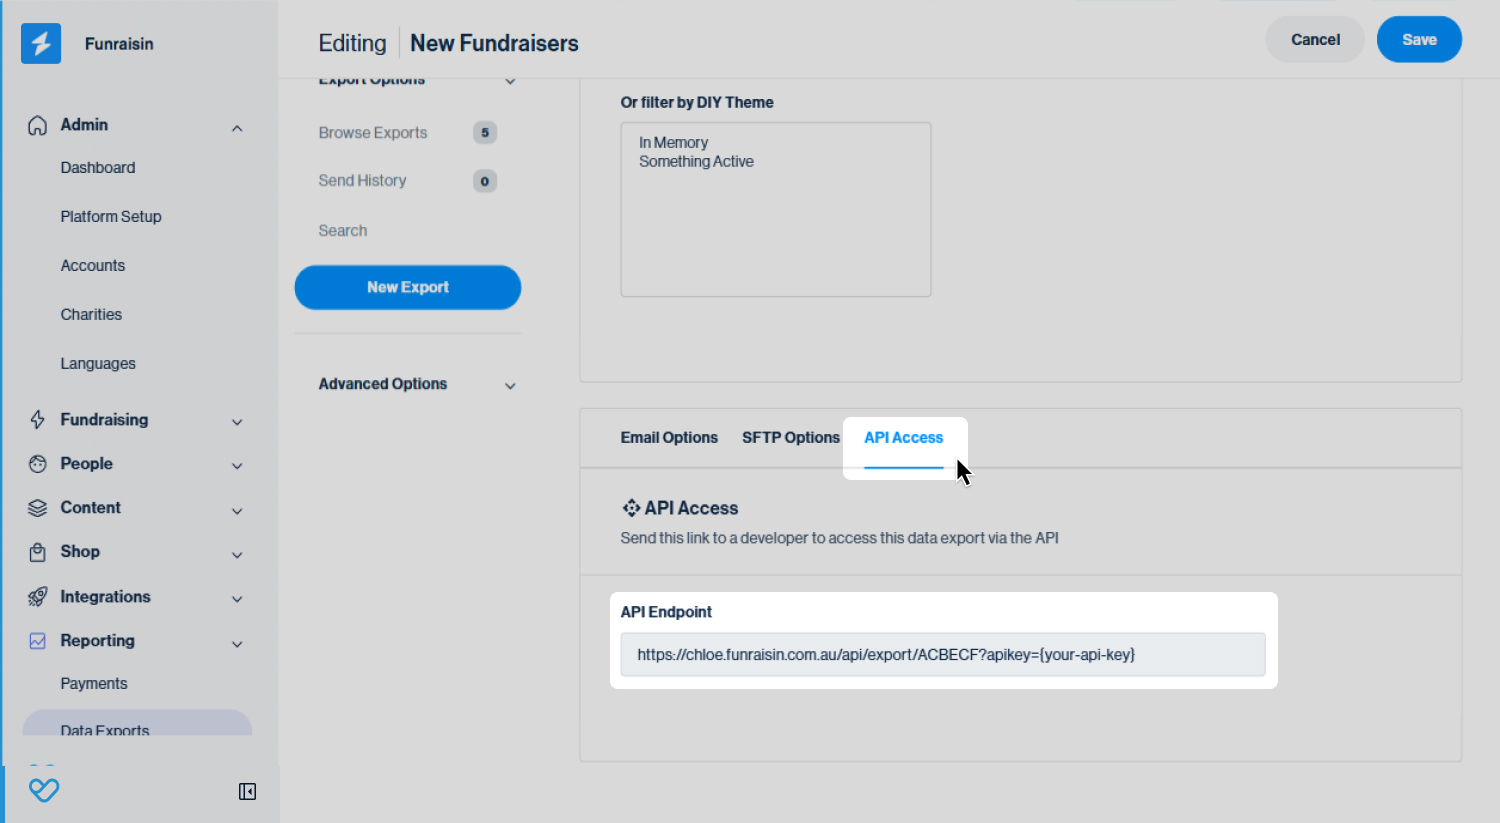
API Settings
An admin is someone who has access to your Funraisin platform admin. Depending on their access rights, they can manage your entrants, events and donations.
You can control who from your team has access to your Funraisin platform by adding new team members or archiving those who have left. Adding new team members is quick to do and there is no limit on how many can be added.
API Endpoint
- An API endpoint is a specific URL that is used to request and send data. It acts as a touchpoint for the two systems to communicate with each other.
- An example endpoint is:
- https://www.charity.example/api/export/4D6HW8
- This is the full API endpoint URL provided for accessing the data export:
- https://www.charity.example/api/export/4D6HW8?apikey={your-api-key}
- The base URL is:
- https://www.charity.example/api/export/4D6HW8
- This points to a specific function or data set.
- Here it would be the export function from your charity’s domain.
- ?apikey={your-api-key} is a query parameter that adds your unique API key to the end of your URL for authentication
- The {your-api-key} placeholder should be replaced with your actual API key provided by the service.
Make sure to click the blue Save button in the top right of your screen, when you are done .
We also have further data export support articles on:
- Creating, editing and filtering exports
- Export types
- Fields glossary
- Advanced search and Smart Lists
Still need help? Check out other reporting articles or reach out to the Funraisin Support team by logging a ticket through the Support Module in your platform.
Last updated: 14 Nov 2025
