

Boost acquisition by encouraging fundraisers to invite their friends. You can incorporate an invitation step into your event registration flow or add it after registration using Next Steps.
This latest update allows entrants an even quicker method to invite friends during or after registration with as little as just their email address
Previously you could invite a friend using the entry type method found here. This method still works and can be used to set up more complicated invites where specific information is required. Including the ability to manage other entrants like child registrations. Using the entry type method however, restricted ticketed events from being able to use the invite functionality. With this update you will now be able to have both tickets that are bought for guests and a space where participants can invite others to join without purchasing a ticket for them.
The new invite a friend functionality works across all P2P/online event types.
Types of Invited Users
To accommodate all event types, there are two ways to set up friend invitations:
- Invited Entrants: Invited Entrants only require an email address (first name and last name optional) and are linked to the entrant who invited them. An invited member will not create an entrant record. Only once an invited member starts the registration process, then they will be created as an Entrant. When invited an email will be sent to complete registration.Please note as these users are not saved as an entrant these users will not be available to download or retarget.
- Incomplete Entrants: Incomplete Entrants simply require a first name, last name, and email address and are saved in your 'Entrants' section as incomplete/inactive. They will be sent an email to complete registration. If you’d like to capture more information about the invited user, such as address, gender etc, then you’ll need to create an entry type and follow the steps in this support article instead.
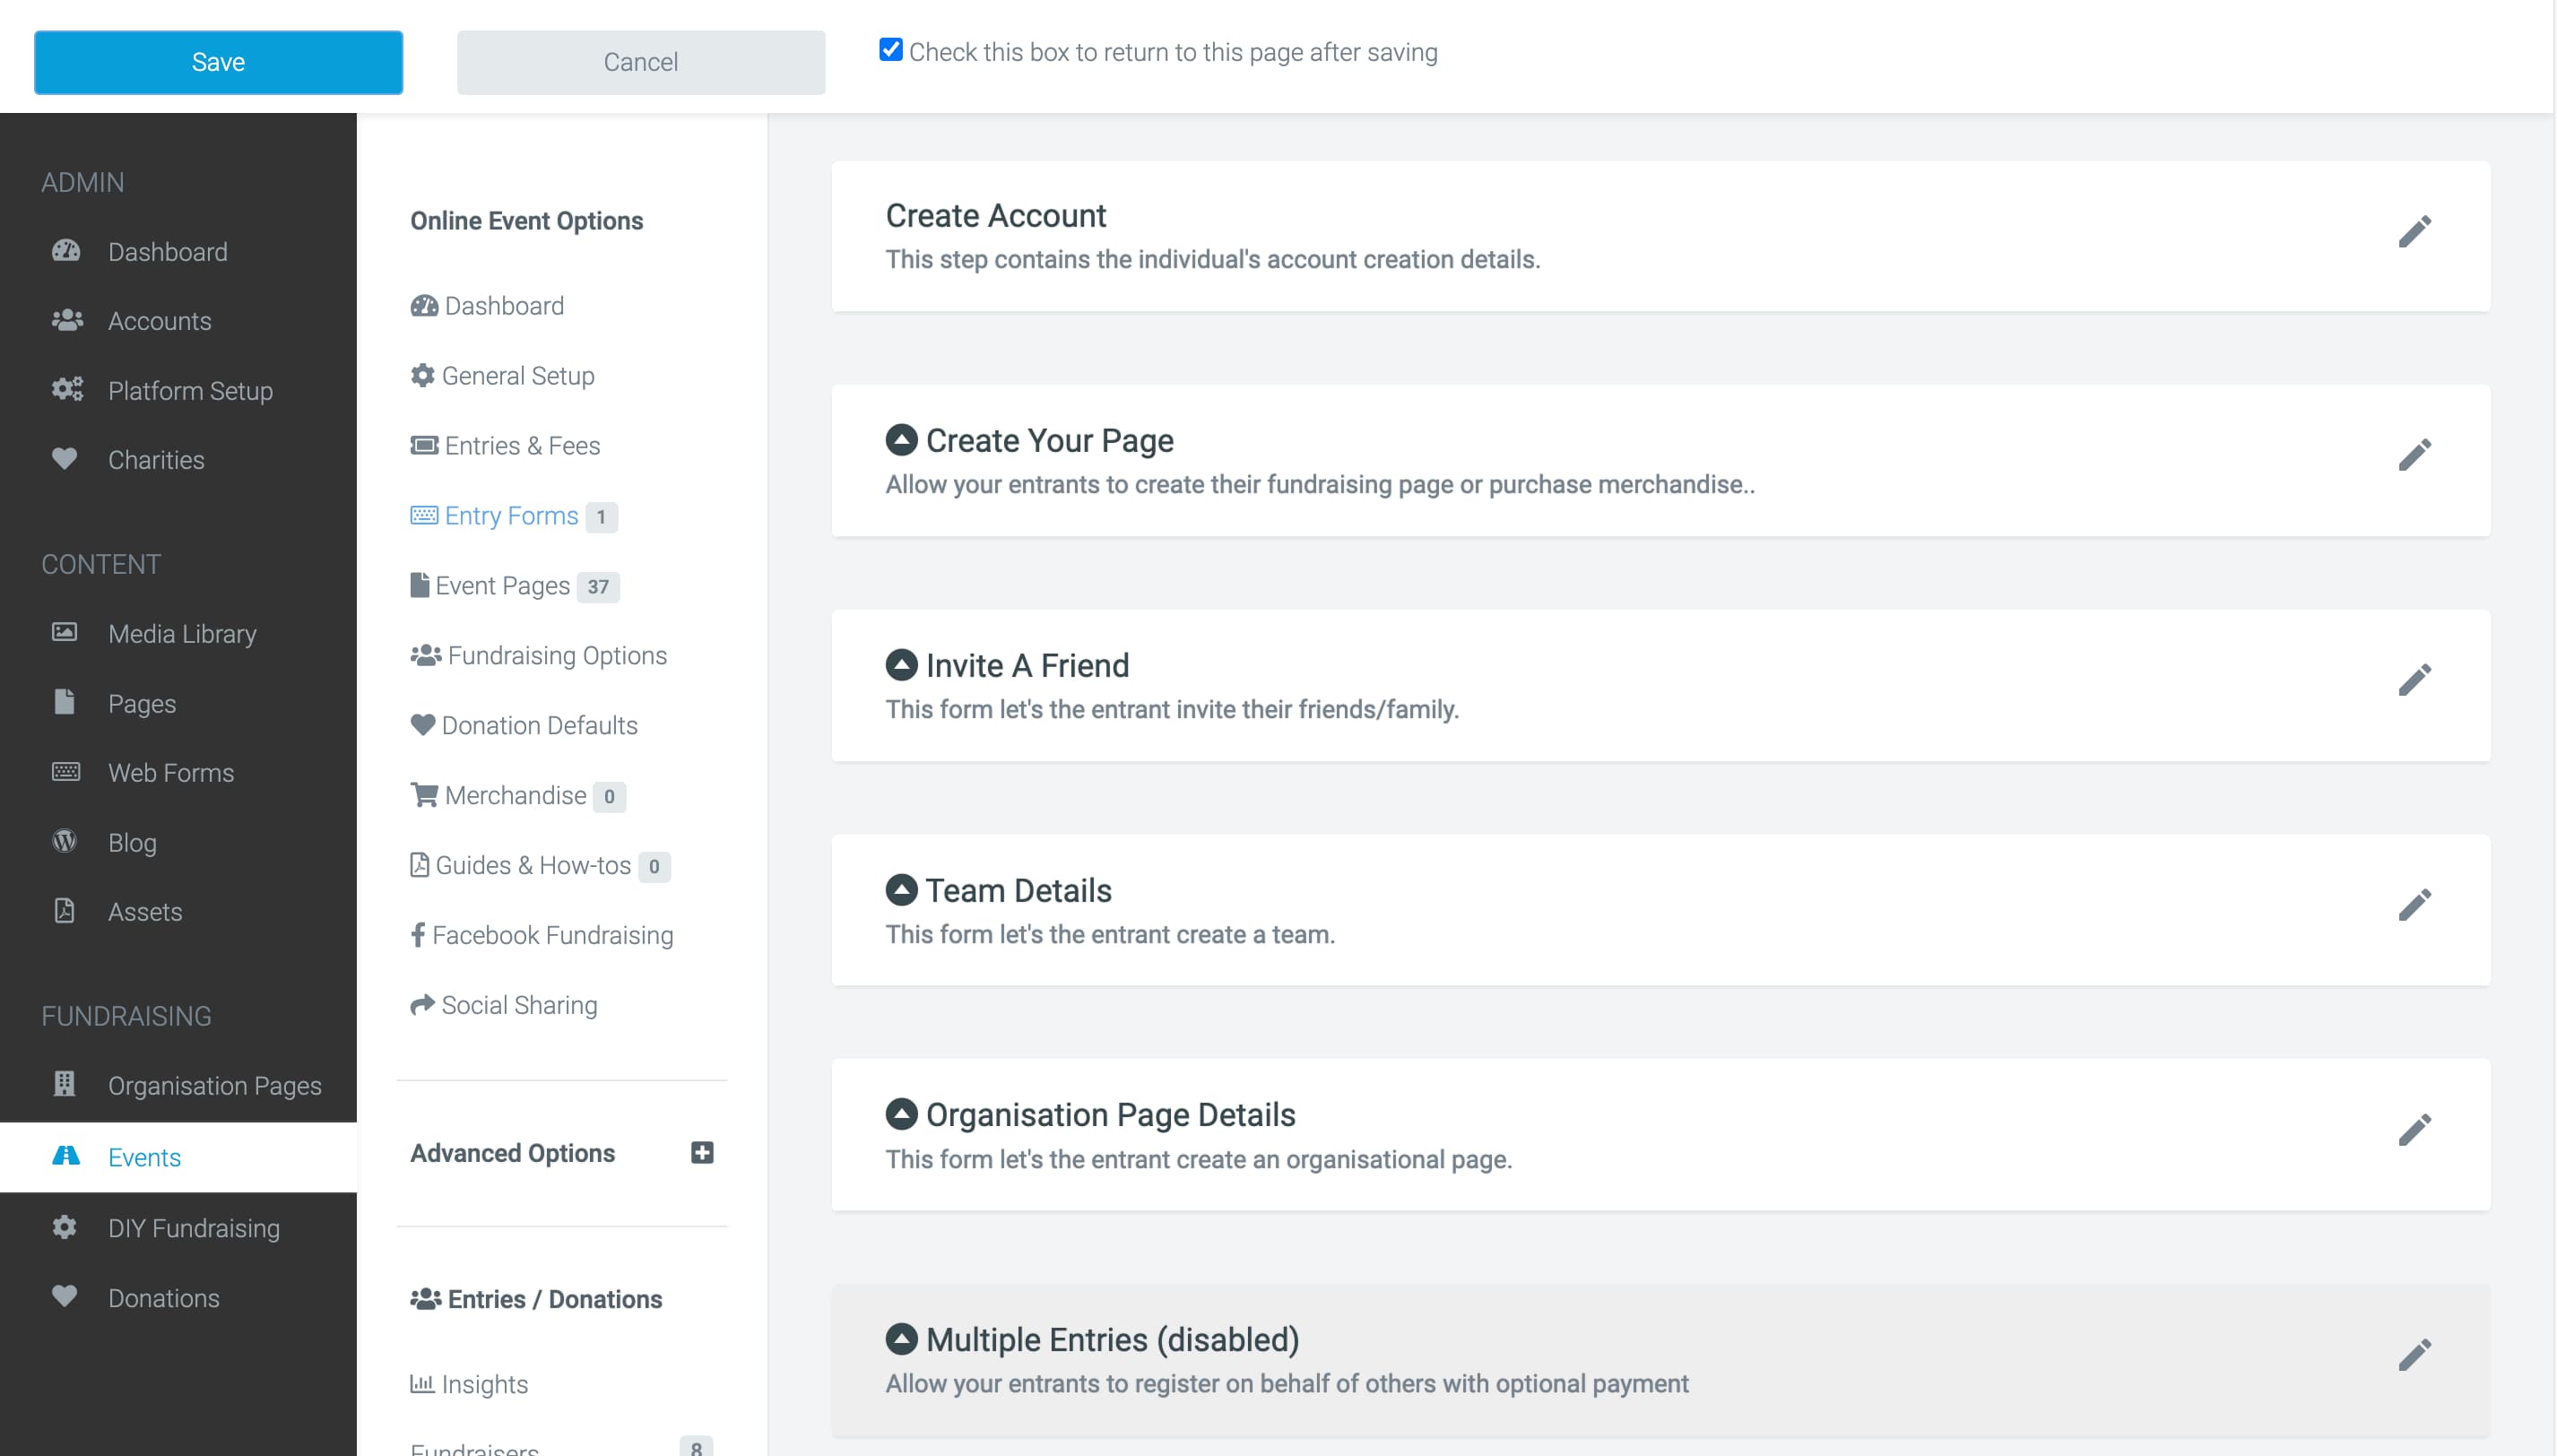
Including "Invite a Friend" in Your Registration Flow
To add an invitation step to your registration flow navigate to:
Events > Edit Event > Entry Forms > Edit Entry Form.
Here, you can incorporate invited users into one of the following steps:
- Invite a Friend: This is a separate step that you can enable and place anywhere in your registration flow.
- Create Your Page: By default, this is the second step of your registration flow where the user creates their fundraising page.
- Team Details: This is the step where entrants can choose to create a team. When they are creating a team, you have the option to add an optional "Invite a Friend" step.
- Organisation Page Details: This is the step where entrants can choose to create an organisation. Similar to creating a team, you can add an optional "Invite a Friend" step when they are creating an organisation.
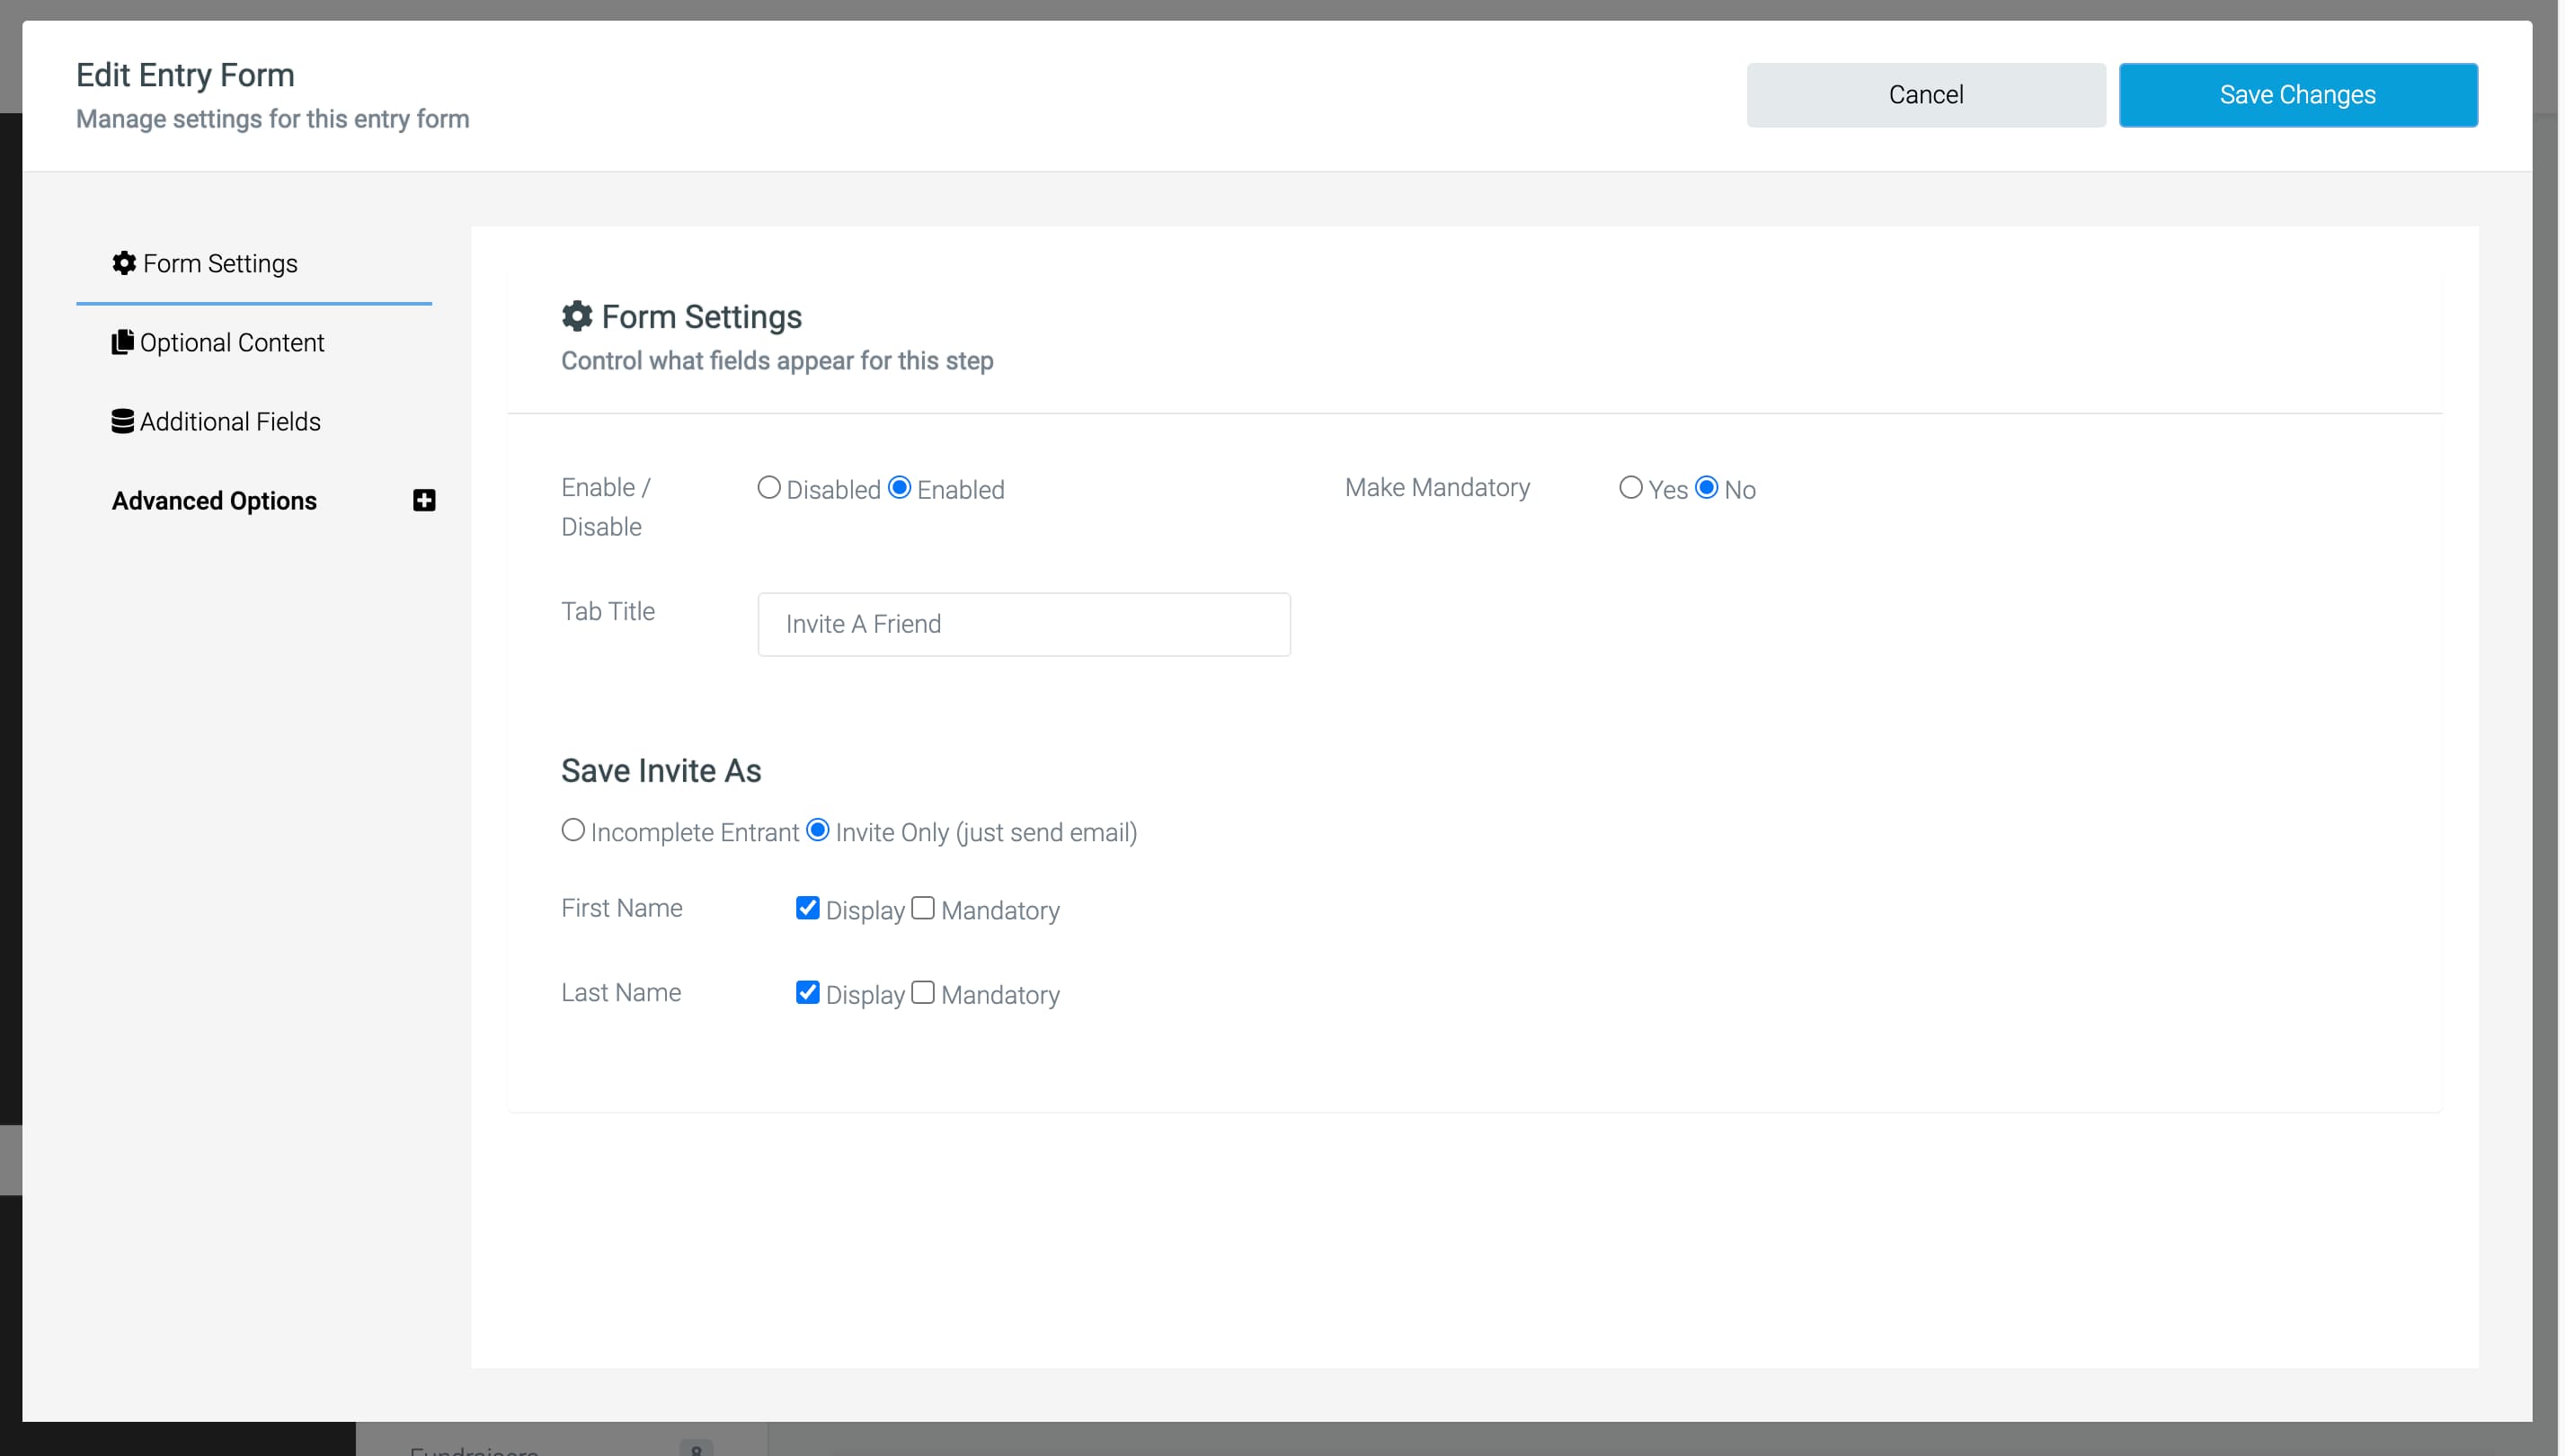
If you select 'Invite', you'll see two additional fields that can be collected: 'first name' and 'last name.' Both these options can be made mandatory or left as optional fields.This option will invite the person via email, but not create an entrant record until they begin registration.
Next to 'Allow Invite', there is another option to 'Make Mandatory'. When selected, this will make the invitation step a required field that users need to complete.
If you select ‘Incomplete Entrant’, then their email address, first name and last name will be mandatory in order to invite them. This option will invite the person via email, and create an entrant record on the platform.
Adding "Invite a Friend" to Next Steps
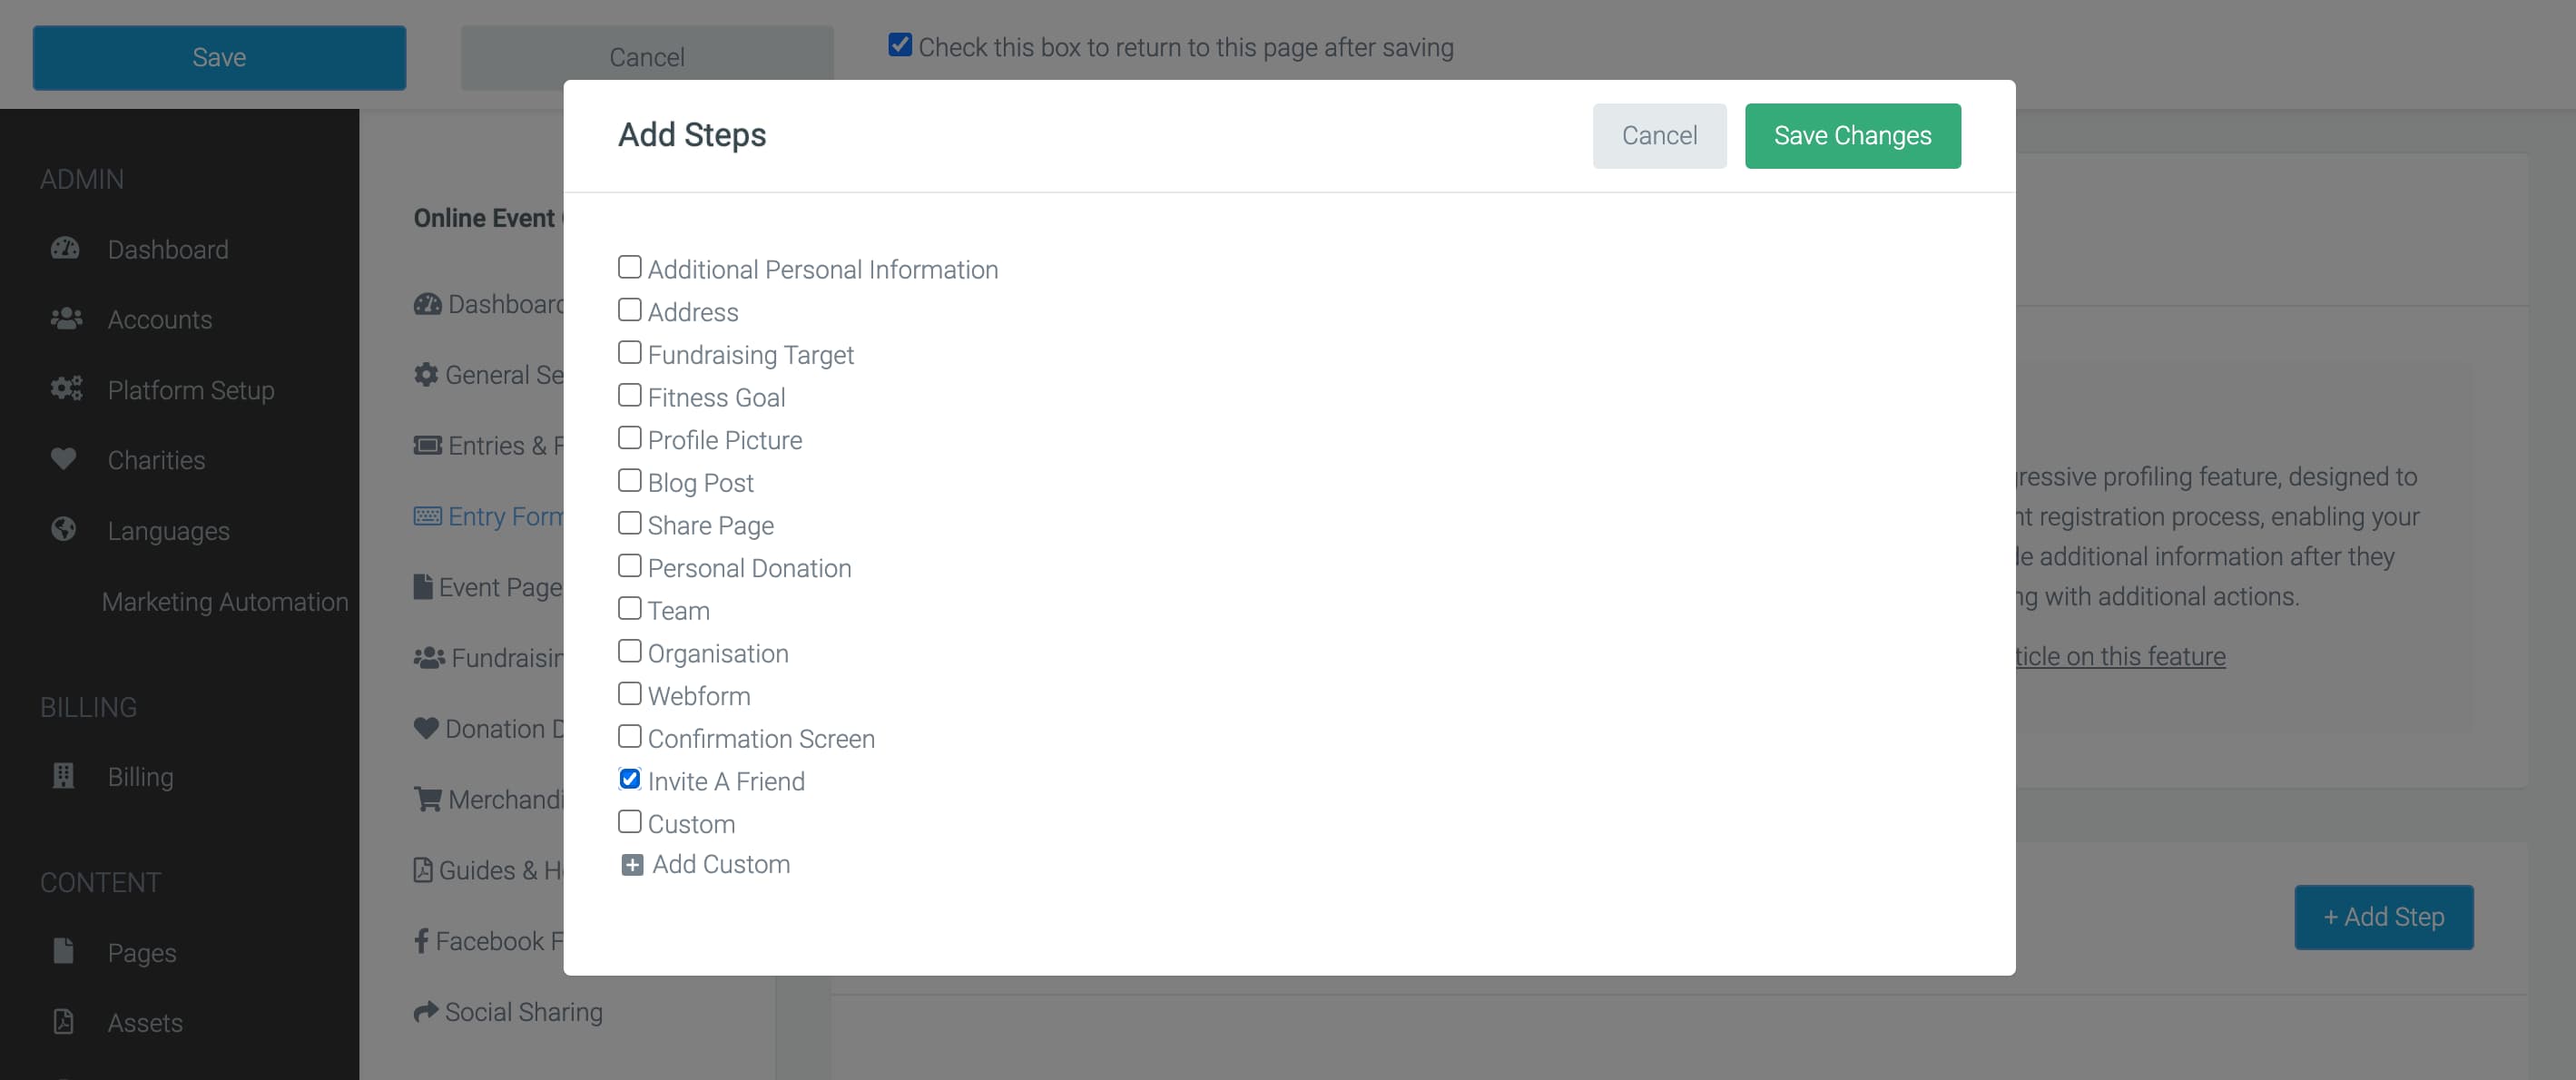
To add "Invite a Friend" to Next Steps, navigate to:
Events > Edit Event > Entry Forms > Edit Entry Form > Next Steps and tick 'Enable Next Steps for this entry form.' Once you have enabled Next Steps, you can select 'Add Step' and then tick 'Invite a Friend' and 'Save Changes'.
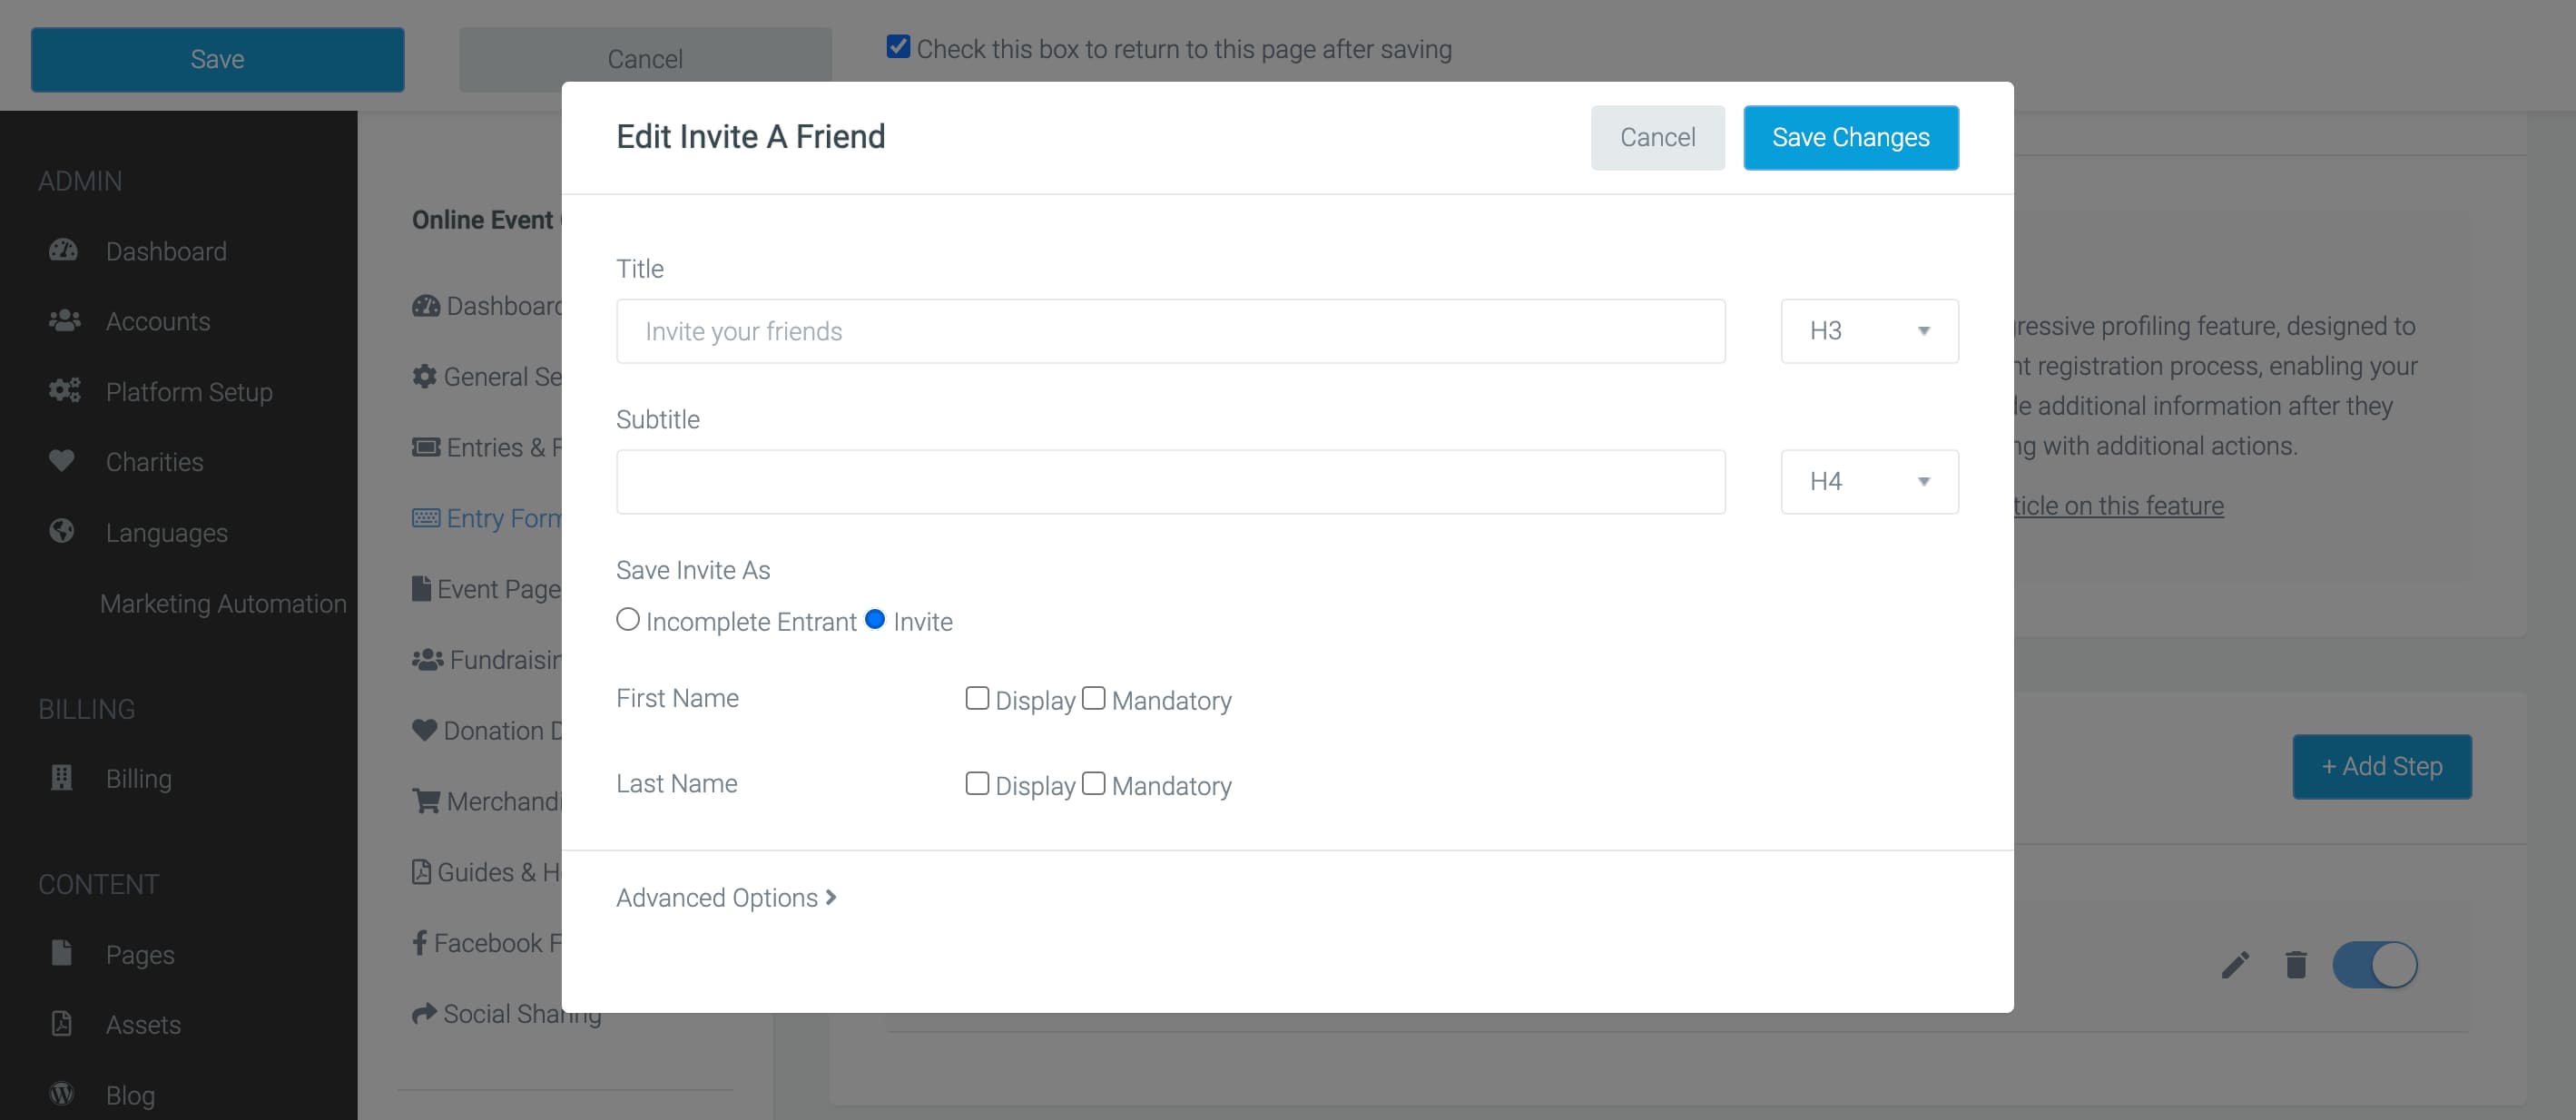
After adding the ‘Invite a Friend’ step, you can now select 'Edit,' add an optional title and subtitle, and select whether you want to save these users as an 'Incomplete Entrant' or 'Invited Entrant'. Learn more about Next Steps here.
Assigning a Team or Organisation to an Invited User
Invited users saved as an ‘Incomplete Entrant’ will be automatically assigned to the Team and/or Organisation that the inviter creates. They will appear as incomplete team/organisation members initially, transitioning to active members upon completing registration.
Invited users saved as an ‘Invited Entrant’ will not be assigned automatically. To join the same team, they can do so after completing registration by finding the team/organisation and selecting 'join.' They can also join before completing registration by visiting the team/organisation page and selecting 'join.'
Setting up the Invite Emails
When someone is invited, they will receive an email to join the event. This can be set at the platform level or customised and set at the event level.
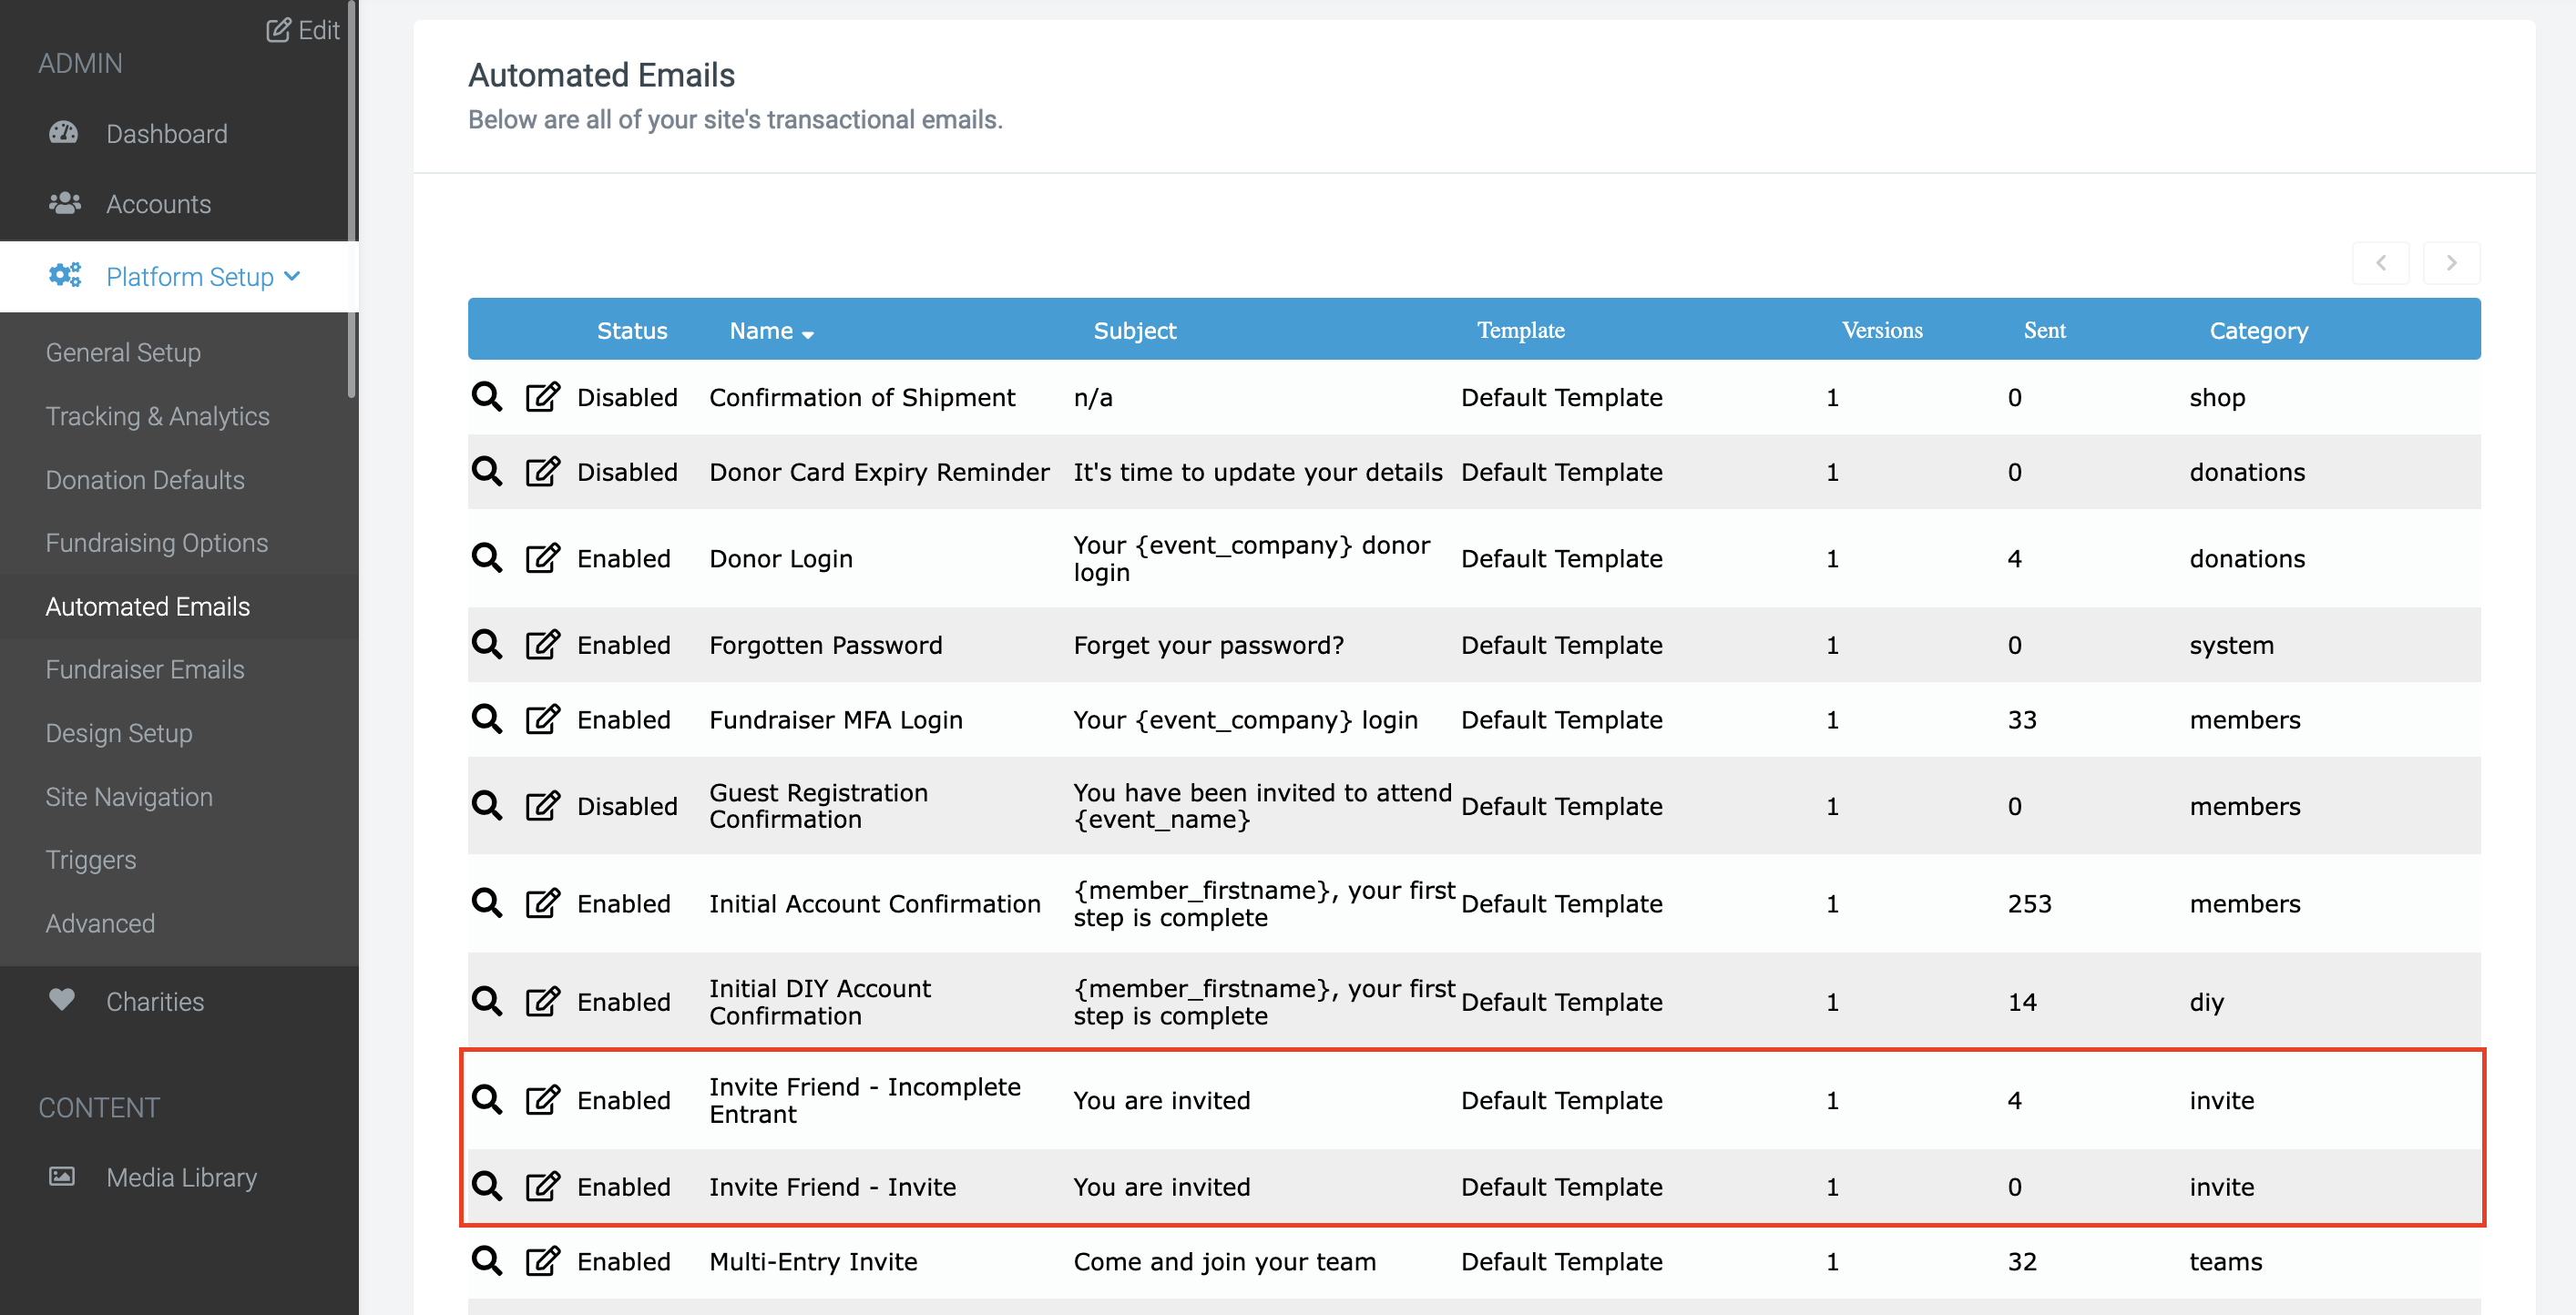
To find these emails at the platform level, go to 'Platform Setup' > 'Automated Emails.' In this list, you'll see two options:
- Invite Friend - Incomplete Entrant: Use this email when you have chosen to save your invited users as incomplete entrants.
- Invite Friend - Invite: Use this email if you have chosen to save your invited users as Invited Entrants.
To enable and customise the email, select 'Edit,' change the email status to ‘Enable,' choose an email template, subject line and then add your content below.
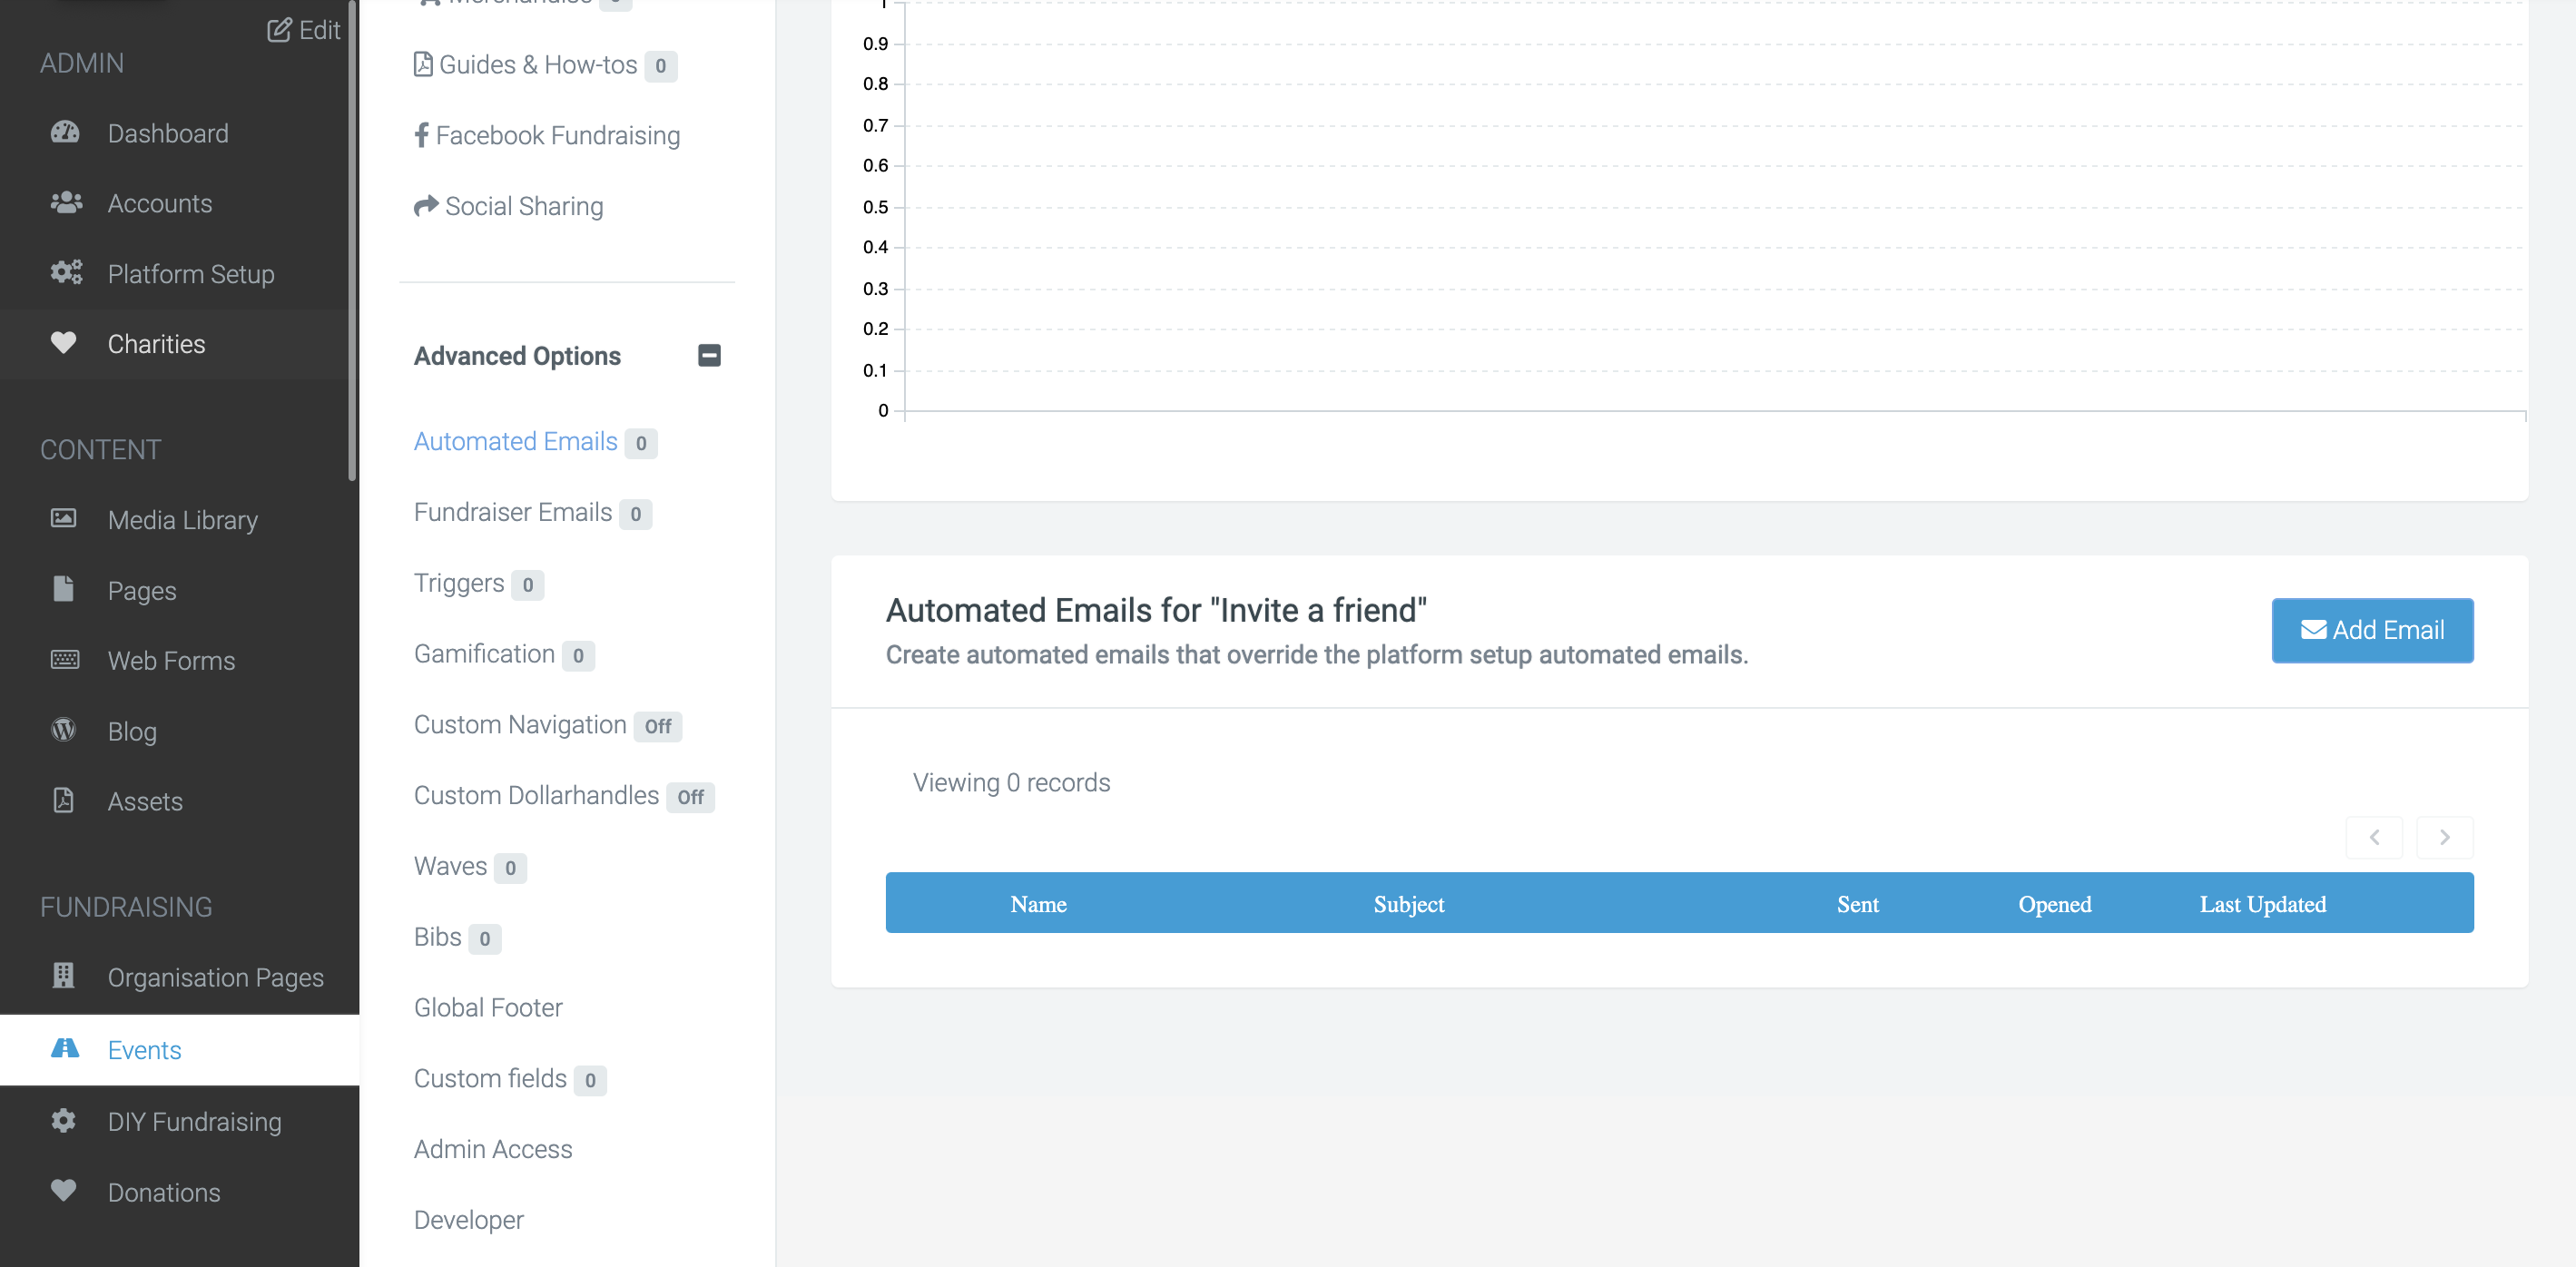
To set up at event level, navigate to:
Edit the event > Advanced Options > Automated Email > Add Email.
Here you can select to override the email that is relevant for you.
It's essential the email contains the correct link so that the invited person can follow the link to create their fundraising page:
- For Incomplete Entrants, use the personalization tag member_invite_url and ensure it’s encased in curly brackets { }. Following this link will take the user to a page to confirm their email address and then pre-populate the form with the information that has been given.
- For Invited Entrants, use the link for your registration flow. Once the user has completed the first page of the registration, they will be saved as an entrant. If they complete the registration with the same email, this will be shown against the person who invited them, and you'll have another complete entrant within your records.
Reporting on Invited Users
Incomplete Entrants:
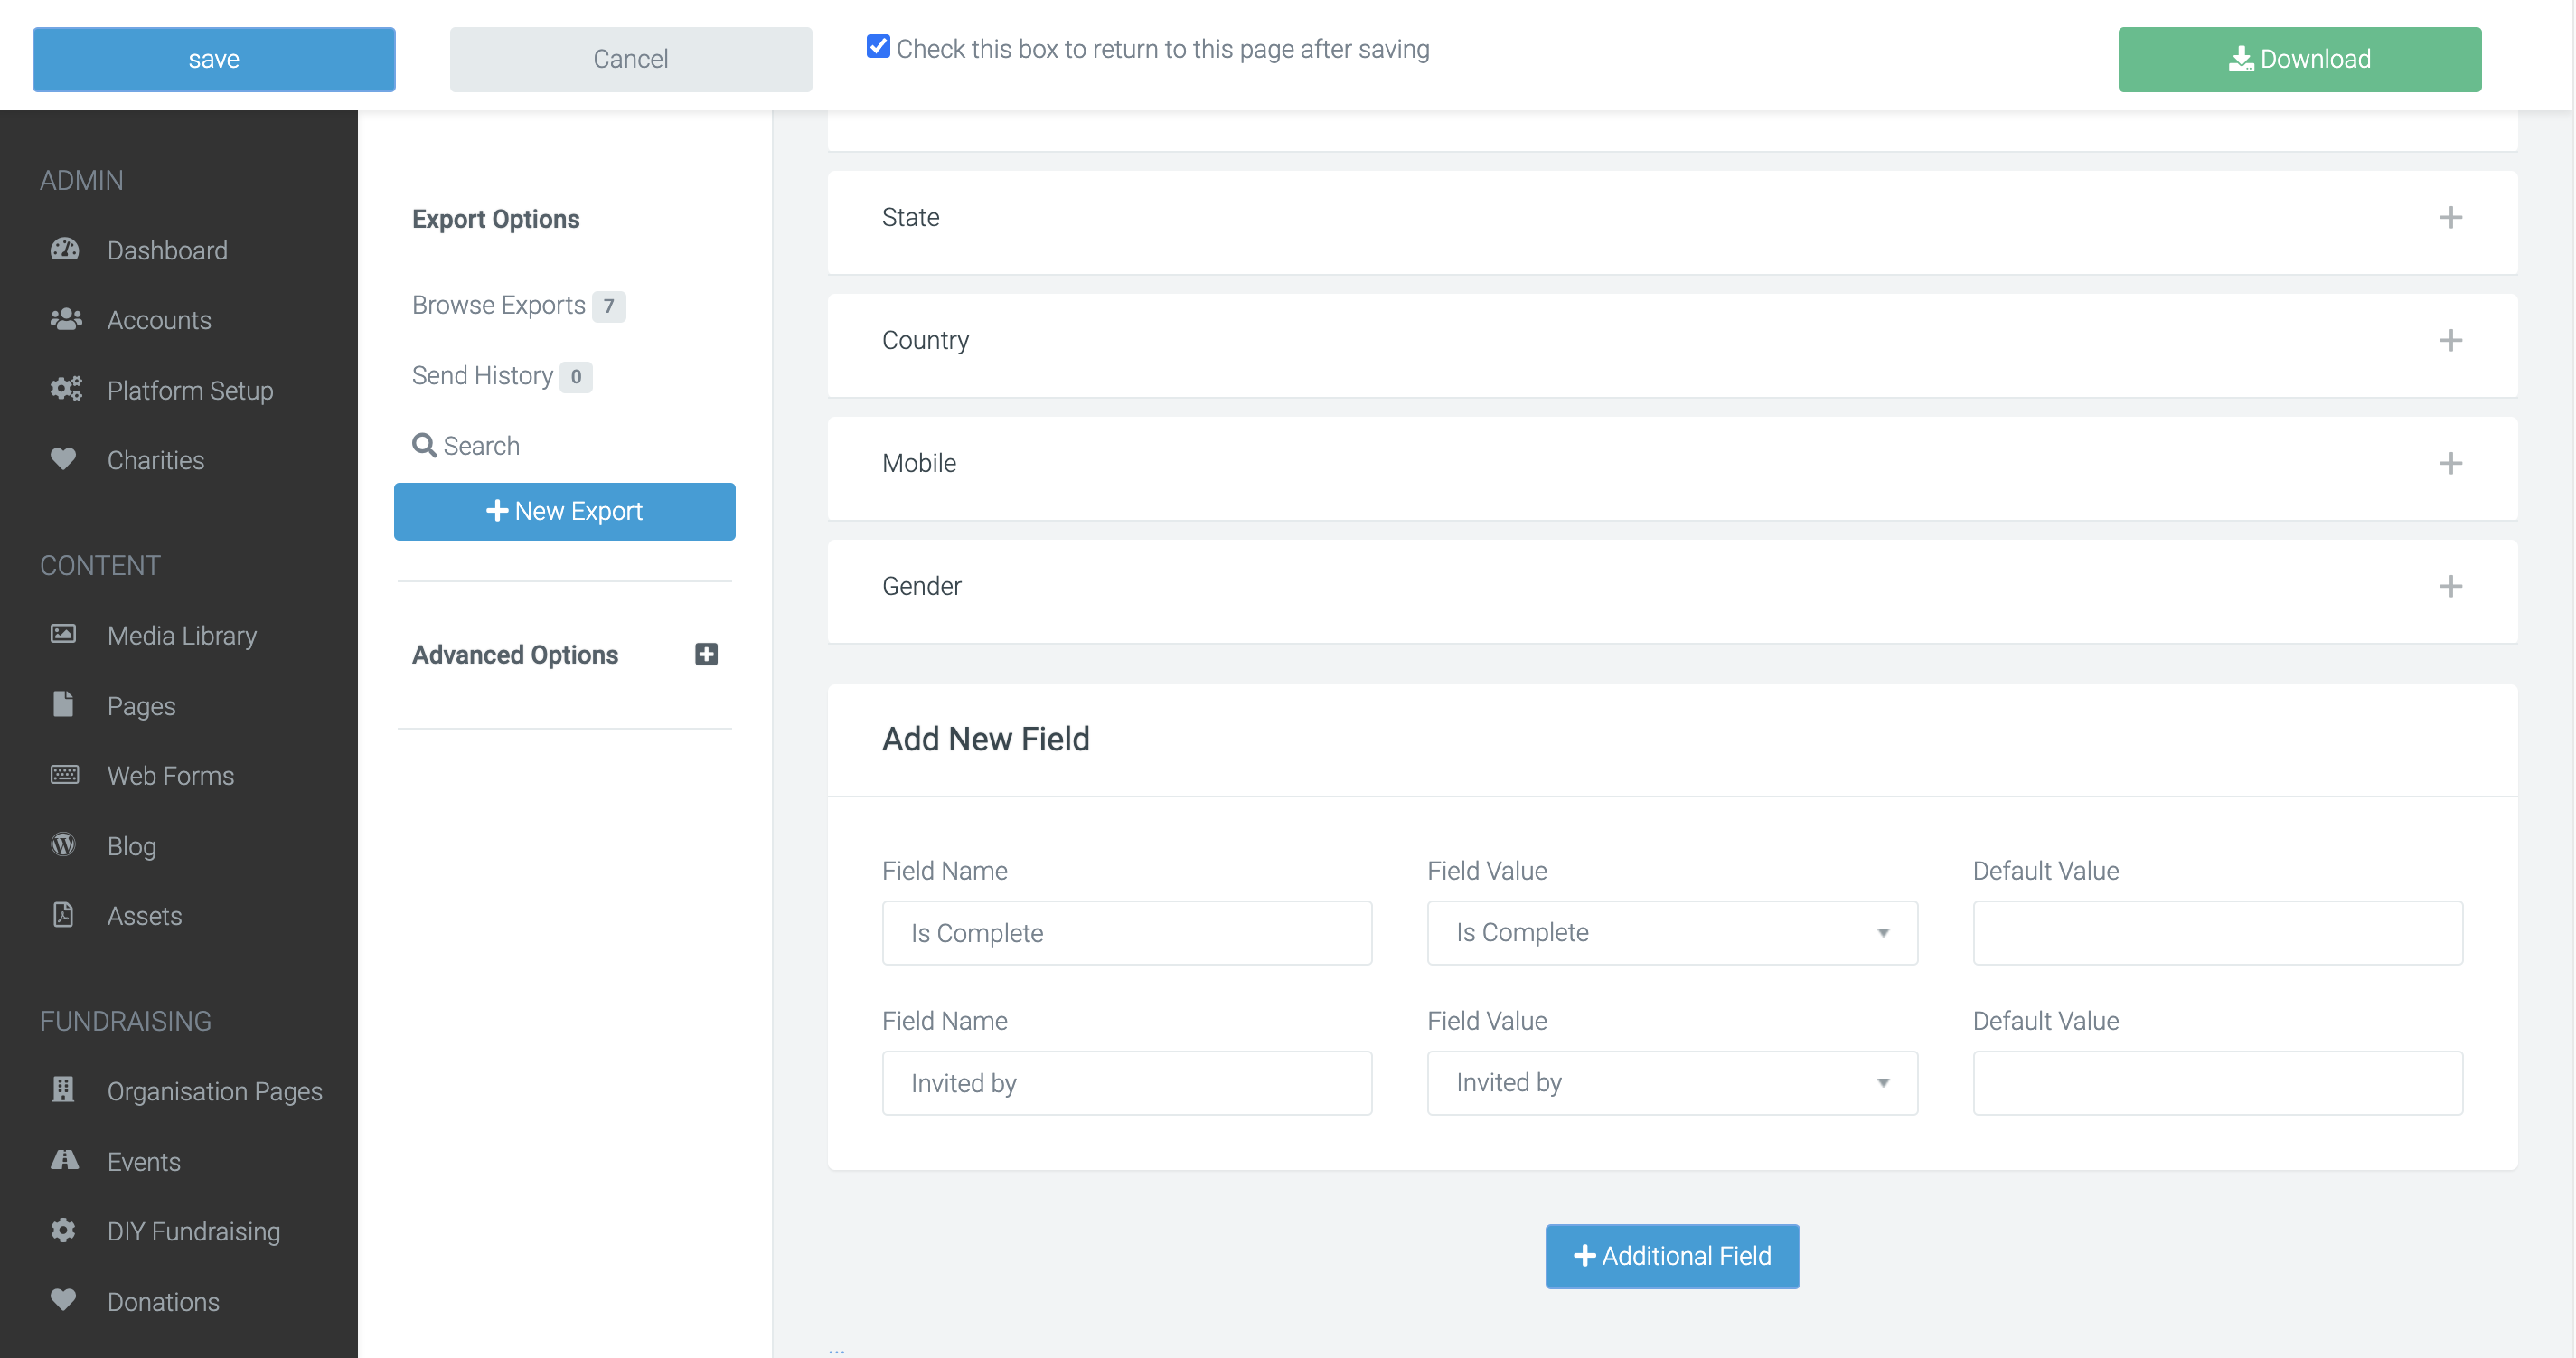
If you choose to save your invited users as incomplete entrants, you can use the 'Fundraisers' report data source to view these members. To find this report, go to 'Data Exports.' Here you can choose to use an existing report with the 'Fundraisers' type or you can select 'Create a new export' and set the data source to 'Fundraisers.' Once you are in the report, use the fields:
- Is Complete
- Is Invited by
This allows you to find out how many users have been invited and if those invited users have gone on to sign up for your event.
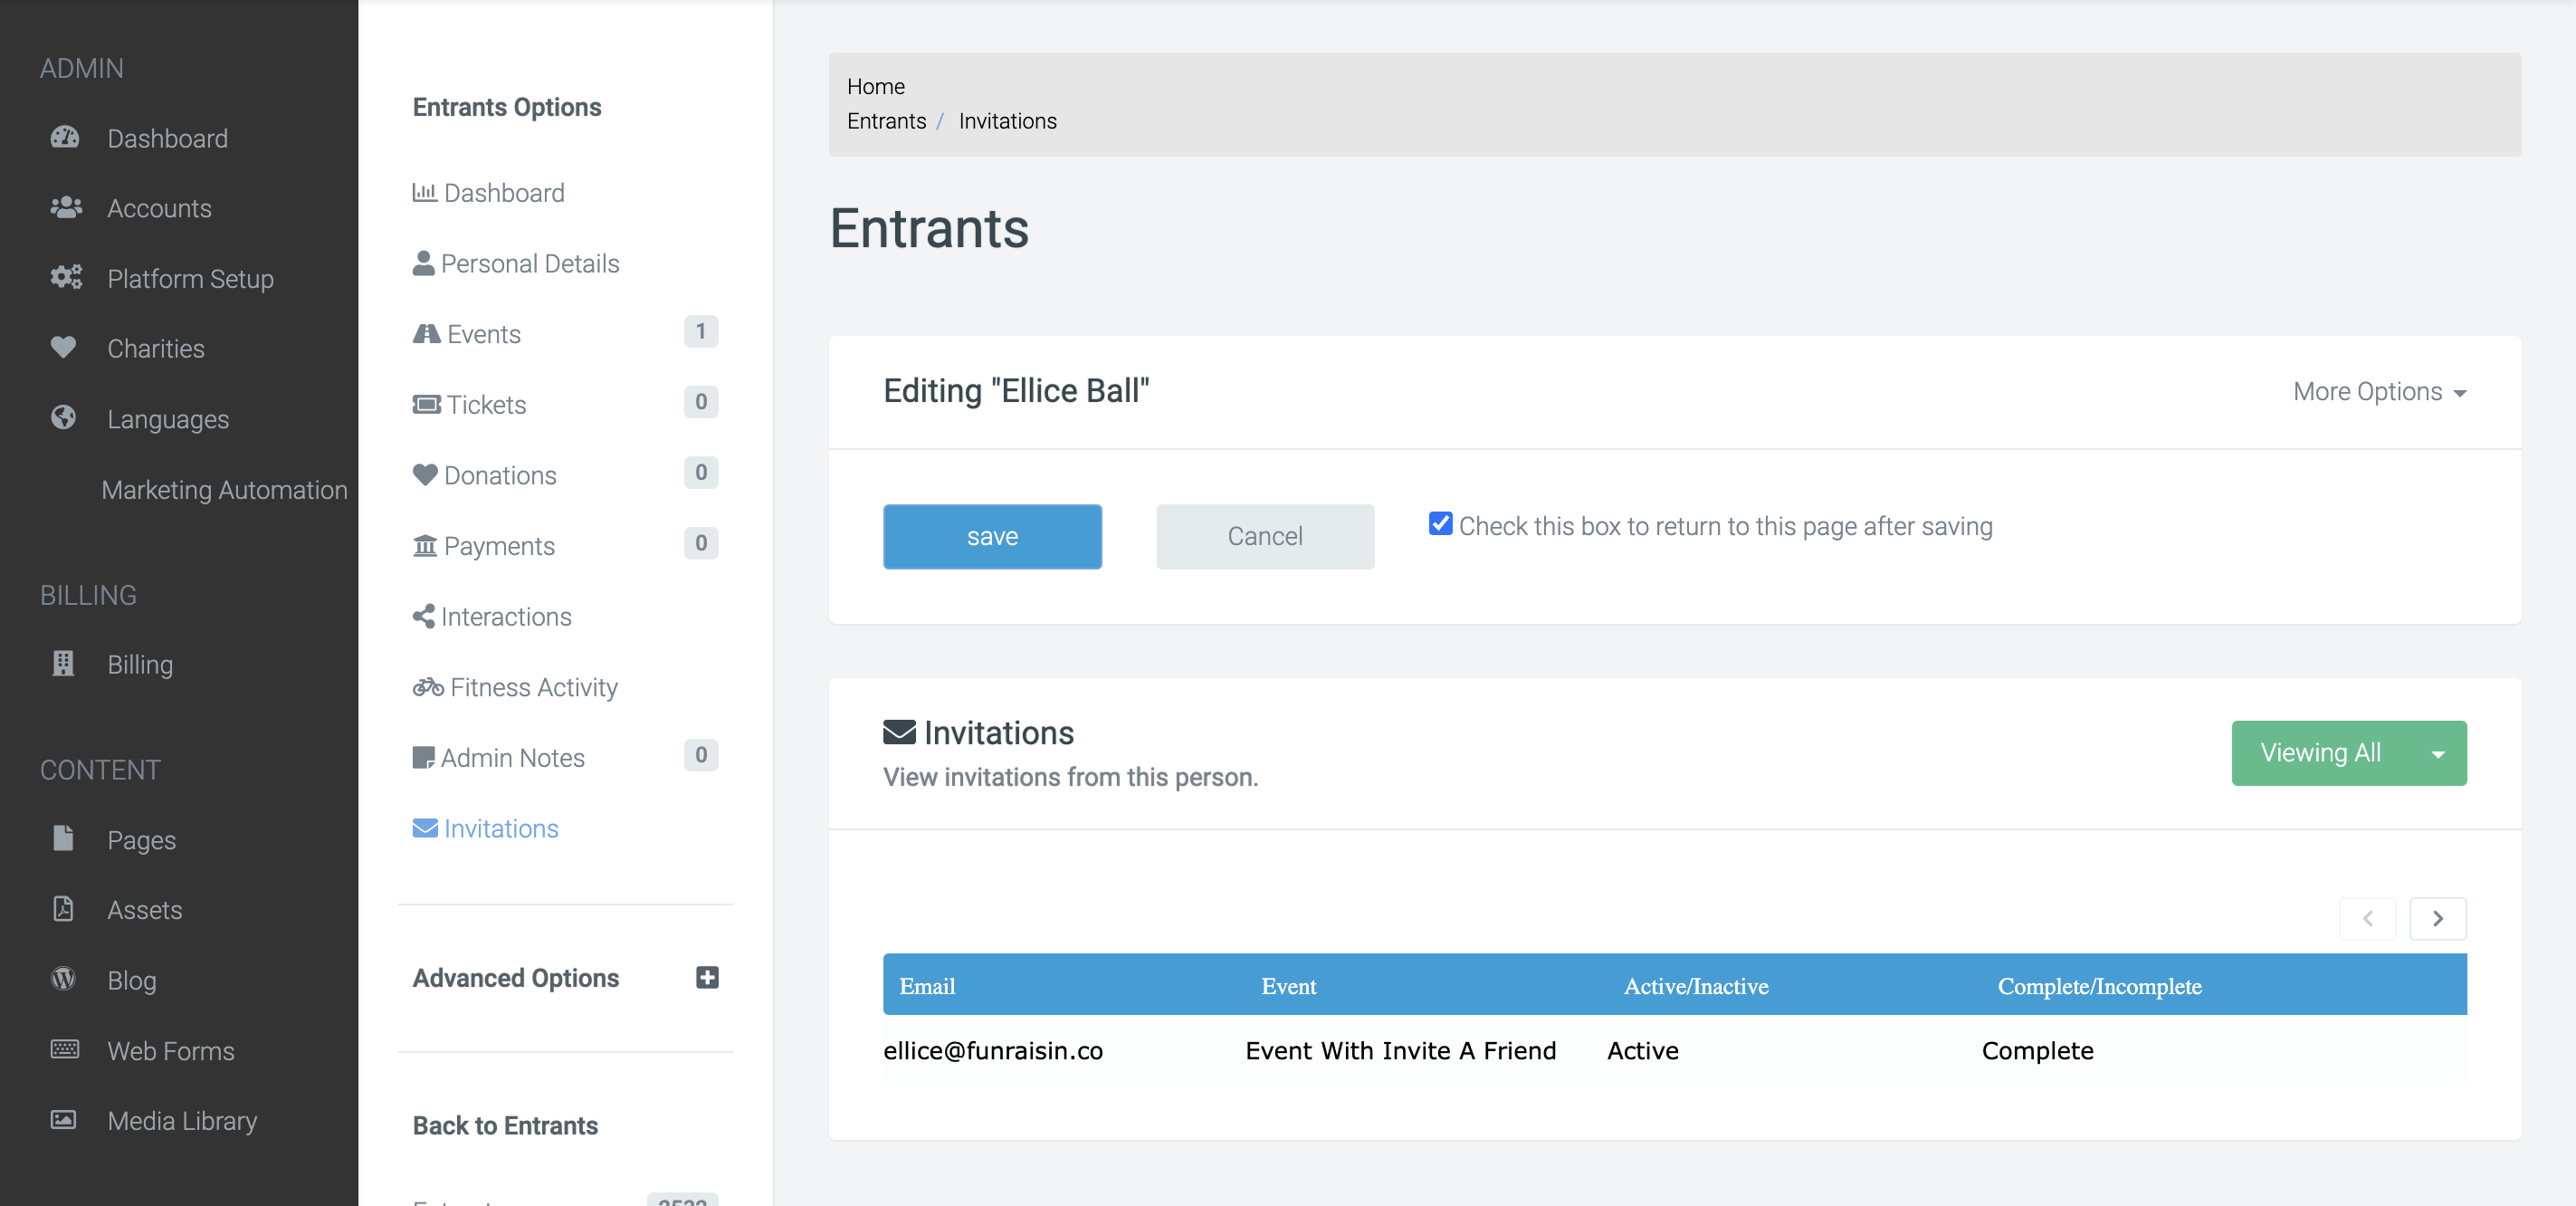
Invited Entrants:
Invited Entrants are saved behind the person who invited them. You can find these members by going to 'Entrants' > Select or find the entrant you would like to look at > 'Invitations.' To find out how many people have been invited to your event and how many of those invited users have signed up, head to 'Entrants' > 'Insights' > 'Invited'
Important: Users who have been invited have not given you permission to use or send other promotional material to them. Under the privacy act, you'll need to wait until they have completed the first page of the registration form to contact them further.
And that's it! If you’d like further help please pop in a support ticket from your admin and our team will assist you.
