

Create a great first impression with beautiful page headers. Part 1, we will cover header types and basic set up. Part 2, we will jump into the finer details of selecting the right header images. Let's do this!
Where to find your header
When editing a platform level page you will find your header within the middle white navigation.
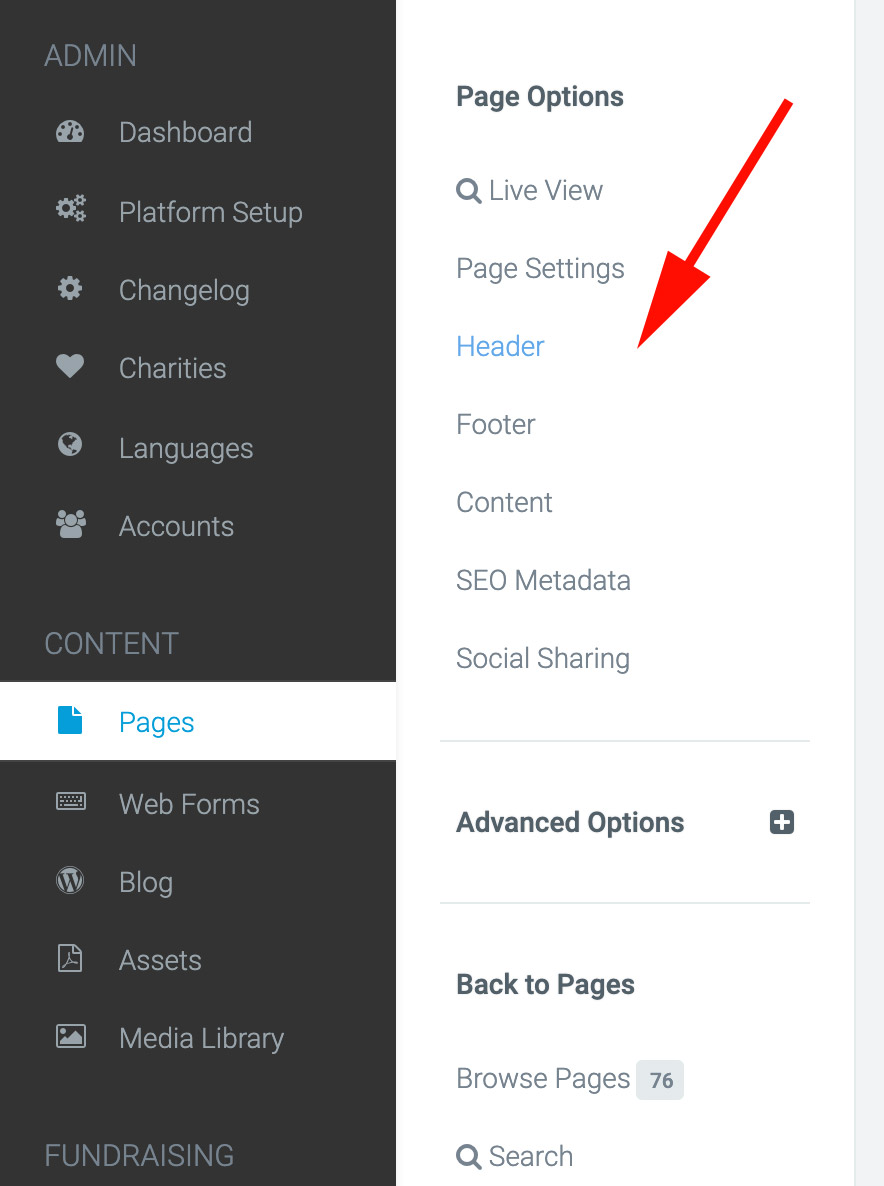
For event specific pages you will find your header options inside the tabs.

Header types
There are multiple header types that you can choose from depending on the style and functionality you are after.
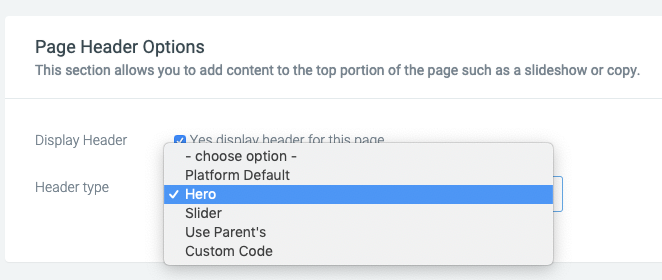
Platform Default
The platform default header will use your default background image and settings set up within Funraisin Platform Setup > Design Setup > Global Header. You can add content via the WYSIWYG editor. For more control over your background and content settings try a hero header.
Hero Header
A hero header is the most common header used throughout most sites. It allows you to feature an image or video background with overlaid content at the top of your page. There are also settings for customising the header height, device-specific content and more.
Slider
A slider header allows you to have multiple slides animating in sequence.
Each slide can have it’s own background image and content.
Use Parent’s
If your page is parented to another, this header will automatically use the header from the parent page. This allows you to control all child page headers from the one parent page.
Custom Code
If you want to create something completely custom this header is for you.
Offline event default
Available within offline events, this header will set you up with a templated header that can automatically populate the details of your event. You can choose what details you’d like to display and also select a foreground and background image.

Header Settings
You will find the settings for your header in the following tabs.

Hero settings
Here you will set some basic settings like the height and how you’d like the content aligned.
Under the Layout Options section, you will be able to align the content you define in the Content tab. The icons on the left represent how the Hero Text and Hero Images will sit and the right side will define the contents vertical alignment.

Background options
Here you can upload a background image or video. Images can be automatically resized to one of the preset sizes. You can also set a colour overlay and opacity to allow any text or content to be more legible over the background. A background video can also be used in the stead of an image (this video will automatically be resized and also loop).

Content
The content editor allows you to add any text, buttons or additional graphics you would like to appear in the header.
Under the Hero Text tab, you will be able to add text, buttons, and images using the WYSIWIG editor, while under the Hero Image tab you will be able to add a graphic or logo to go alongside the Hero Text. How these two appear in the header are determined in the Layout Options in the Hero Settings section as mentioned above. For the more tech-savvy, there is also a Hero Custom Code section in which you can add HTML code to customise the content to exactly how you would like.


Please note: You can also customise each of these steps for mobile, allowing you to have mobile-specific header heights, background images and content. The platform will automatically default to desktop content for mobile views if no mobile-specific content has been added.
That gives you an overview of headers types and set up.
